Next Page: Quantum Break Collectibles Guide Act 2

Quantum Break Collectibles are scattered throughout Remedy’s exciting new time-bending adventure game. Each Act, generally compromising of 3-5 Parts, has many hidden narrative elements, intel pieces, “Quantum Ripples” and “Chronon Sources” to be found throughout the levels. This guide will help you find each across each episode.
NOTE: This guide will reveal the locations of every collectible in the game in order as they appear throughout a level. If you follow the guide as is explained, you should have no issues finding each and every hidden collectible.
ACT 1
PART 1
| Chronon Sources | 0 |
| Intel | 0 |
| Collectibles | 14 |
| Quantum Ripples | 0 |
As you begin you’ll find yourself in the college courtyard. Here is where you can find a number of collectibles in this level.
Collectible No.1
When Jack first exits the cab, look around for a campus map. Interact with it to earn the game’s very first collectible.

After this, head up towards the archway. This will set off a phone call to Jack.
Collectible No.2
Approach the “Join The Protest” table and interact with it to unlock the second collectible.

Follow the archway into the courtyard.
Collectible No.3
There is a posted board with posters reading “Stop Monarch Problems”. This is where you’ll find the third collectible.

Move towards the central statue.
Collectible No.4
There is a radio on a chair next to the “Please Go Around” sign. That’s the fourth collectible.

Move to the left of the statue and approach the student protest setup.
Collectible No.5
There is a timeline poster of “Monarch problems”. This is where you’ll find the fifth collectible.

Collectible No.6
Move into the tent and activate the television to obtain the sixth collectible.

Follow the path around to the lower left corner of the courtyard to a giant memorial in front of the main building entrance.
Collectible No.7 & No.8
There is a memorial article about Doctor Kim. Interact with it for the seventh collectible. There is also a Paul Serene focus article for the eight collectible.

Move inside the building.
Collectibles No.9
Inside the main reception area, engage with the laptop for the eight collectible, then move through to the “Research Center” to the far back wall to find a second Paul Serene focus article and the ninth collectible.

Collectible No.10
Take a sit in the front row of the projector screen room to earn the tenth collectible.

Collectible No.11 & No.12
Follow Paul into the lab and into his office to find a picture (No.11) and a laptop (No.12).

Collectible No.13 & No. 14
Look for a tablet on a table for the thirteenth collectible. Look for pinboard for the fourteenth collectible.

PART 2
| Chronon Sources | 0 |
| Intel | 0 |
| Collectibles | 3 |
| Quantum Ripples | 1 |
Follow Will around until, avoiding enemies, until you shimmy through a small space through the server room.
Collectible No.1
As you exit the tight space, search around the room to find the first collectible at the desktop computer.

Quantum Ripple
As you move through the area, Jack will have to slam open a door, at which point you’ll engage enemies with weapons for the first time. Take them out, and search for the whiteboard in the far top right corner of the room. That’s where you’ll find the first Quantum Ripple.

Collectible No.2
Once you take out all of the guard and move out into the bricked lobby area, and before you get into the elevator, move to the back of the area to find a tablet containing collectible no.2

Collectible No.3
After you take the elevator up and move through the frozen soldiers, search around the find a tablet with an email on display.

| Chronon Sources | 0 |
| Intel | 0 |
| Collectibles | 1 |
| Quantum Ripples | 0 |
Collectible No.1
You’ll need to work your way through quite a bit of the level before you reach the one and only collectible in this part. It’s locked outside, to the left of the library, over the fence. It’s the radio.

| Chronon Sources | 0 |
| Intel | 0 |
| Collectibles | 2 |
| Quantum Ripples | 1 |
Quantum Ripple, Collectibles 1 & 2
The quantum ripple is located on some cardboard boxes, next to a truck. As you continue to walk straight you’ll notice the collectibles along his right side, scattered amongst the trucks and dossiers.


Next Page: Quantum Break Collectibles Guide Act 3
ACT 2
PART 1
| Chronon Sources | 7 |
| Intel | 1 |
| Collectibles | 9 |
| Quantum Ripples | 1 |
There are many collectible scattered throughout this level.
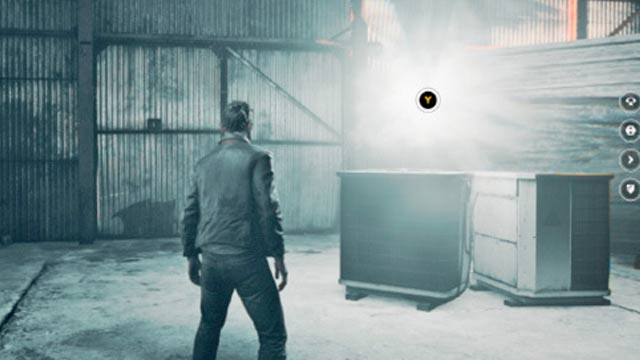
Chronon Source 1
At the back of warehouse, located on a stack of wood.
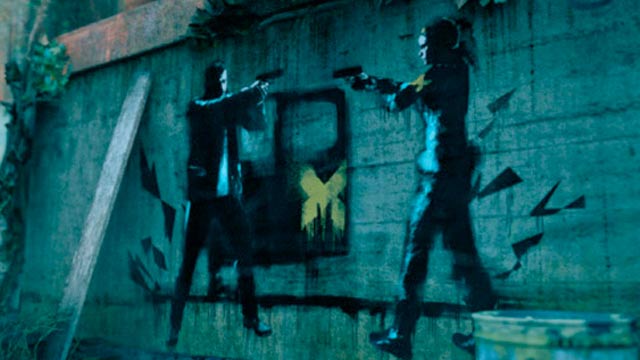
Collectible No.1
As Jack heads outside, a painting on the wall acts as the first collectible.
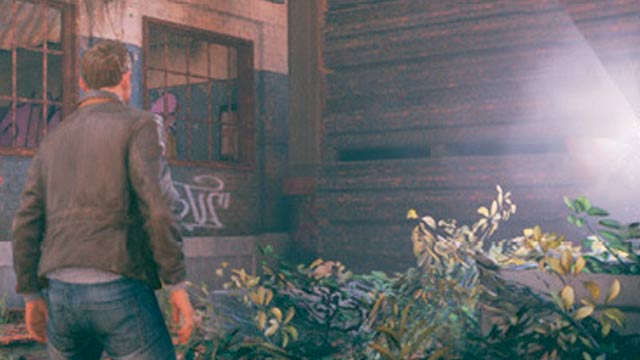
Chronon Source 2
As Jack works his way through the warehouse, there is a room at the back with a hidden Chronon Source to the side of it.
Collectible No.2
Solve the puzzle to get into the communication room to find the second collectible.
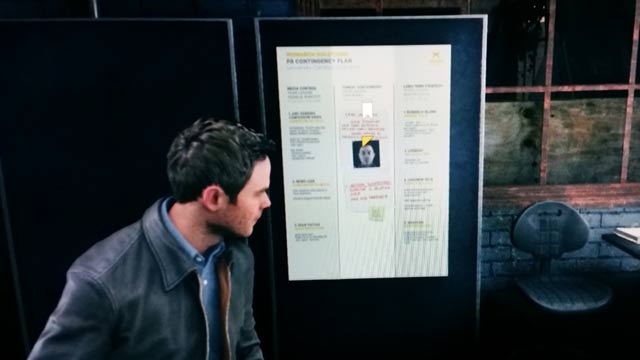
Quantum Ripple 1 and Collectible No.3
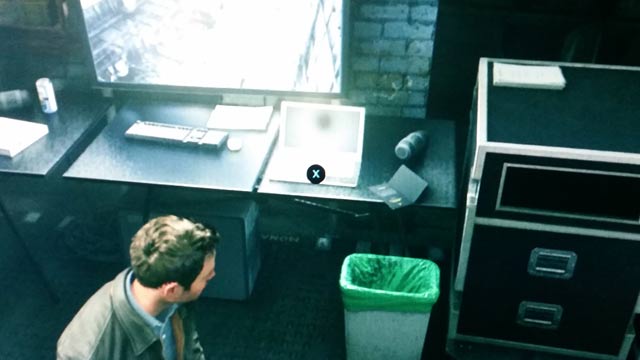
A Quantum Ripple can also be found via the laptop
Chronon Source 3
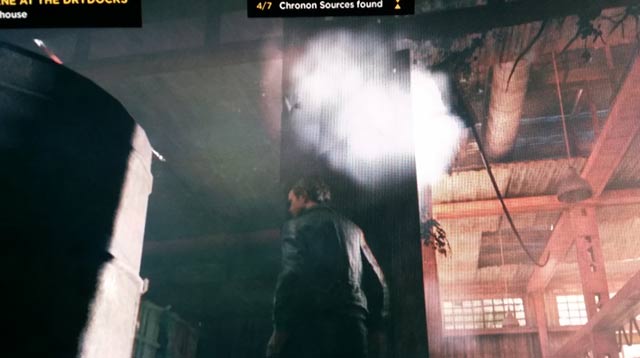
After Jack beats down on the baddies, kick starts the generator and rides the elevator, search around for the Chronon Source located up against a steel pillar.
Intel 1
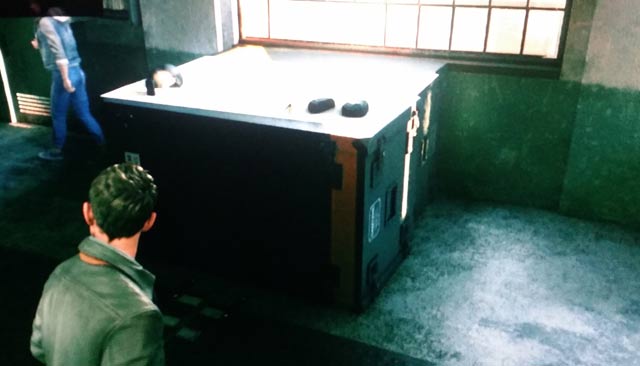
After you work up to the room with the hostage and take out the bad guys, look at the map on the table for the first bit of intel.
Collectible No.4
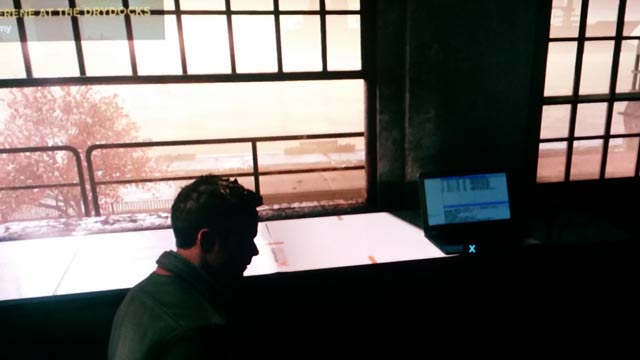
The laptop will land you the fourth collectible.
Chronon Source 4
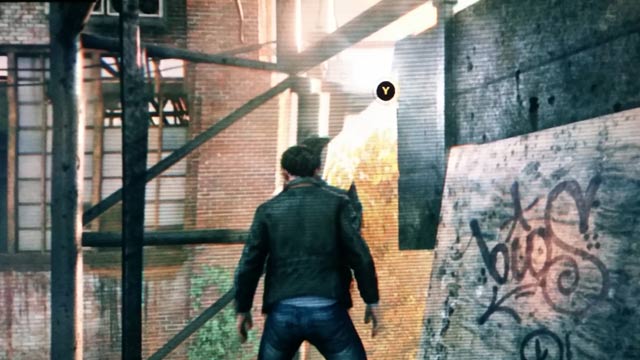
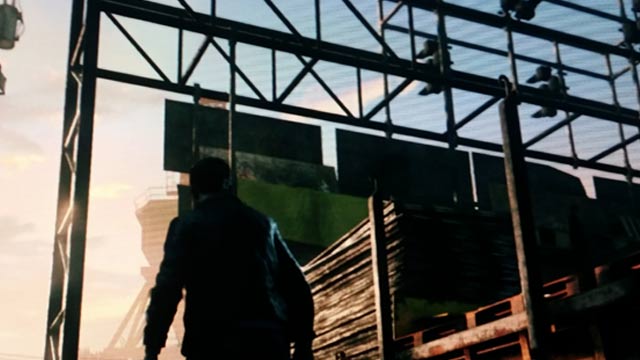
This takes a bit of backtracking. After you get through the gate and have to try to find a way to open the door, climb on top of the train carriages, and move to the left of the giant warehouse. There is a Chronon Source next to the scaffolding.
Chronon Source 5
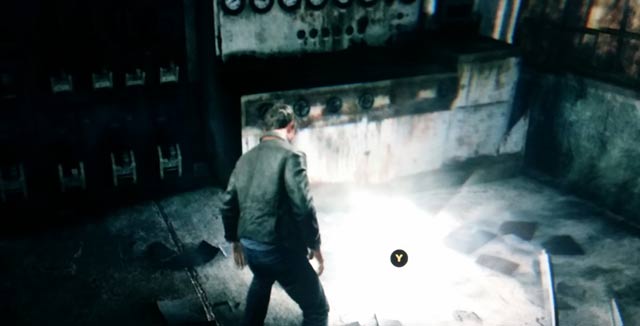
This one can also be a bit trick. You need to look for a secret room, which is adjacent to the control room where you opened the gate moments earlier.
Chronon Source 6
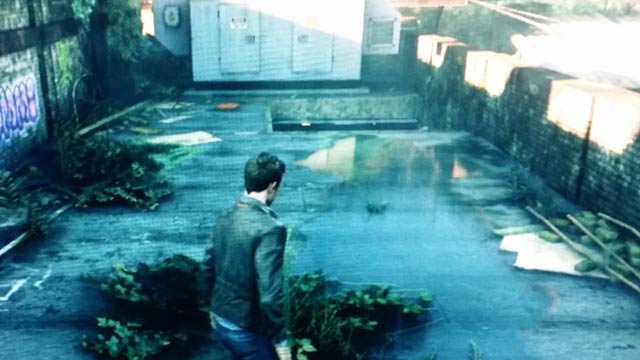
There’s a third chronon source in this area. You’ll need to find a way over into the fenced area. Not too difficult if you experiment enough.
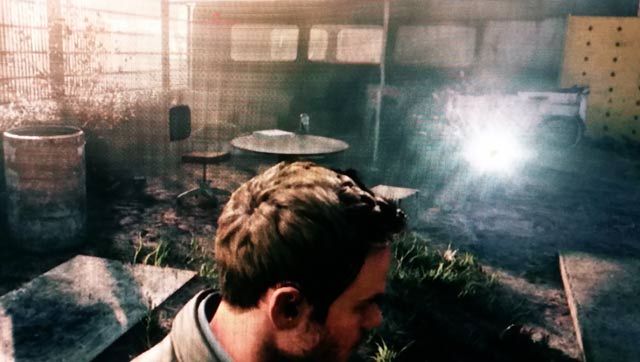
Collectible No.5 & No.6
Once you finally find your way inside, you’ll come across collectibles 5 and 6.
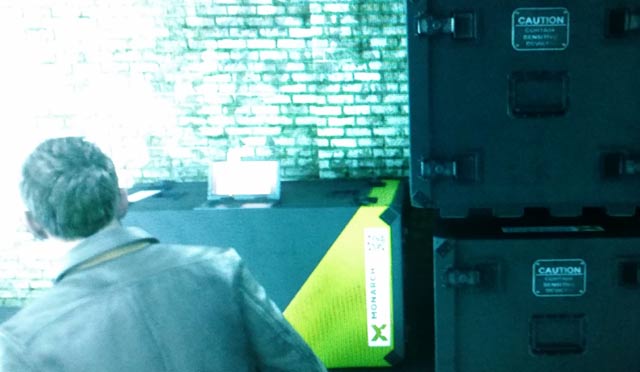
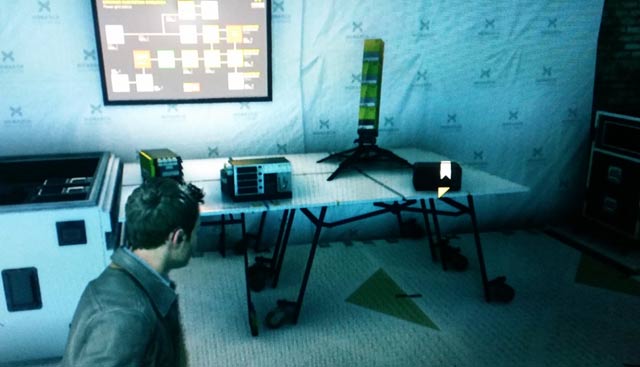
Chronon Source 7
Next up is another chronon source. These come in handy for upgrades, so don’t pass them up!
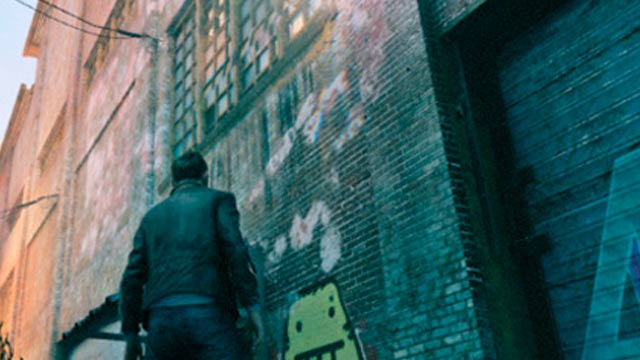
Collectible No.7 & No.8
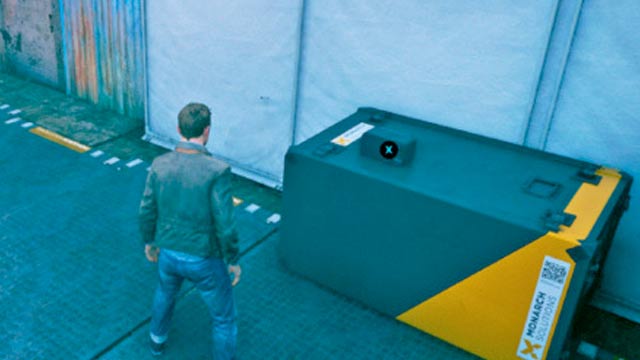
Once you work your way through the warehouse and its enemies and upstairs into an office, the seventh collectible is waiting for you. There’s also a radio here for the eighth collectible.
PART 2
| Chronon Sources | 7 |
| Intel | 1 |
| Collectibles | 13 |
| Quantum Ripples | 1 |
Collectible 1
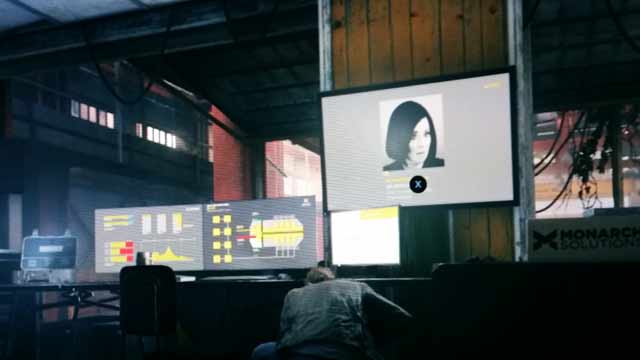
As you enter the warehouse you’ll notice a television set. This is your first collectible.
Collectible No.2
Take out all of the enemies then head down to the ground floor to find a laptop and the second collectible.
Chronon Source
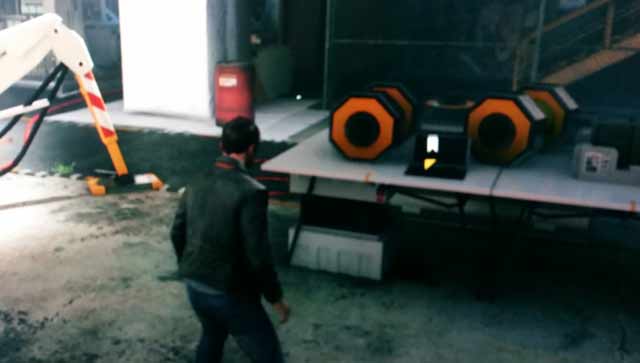
Once you find your way to the top level stairs (you’ll need to rebuild the catwalk using time rewind), head down the stairs to find a hidden chronon source.
Chronon Source
As you walk back up, up some crates and along the vents, look for a hidden room compartment for another chronon source.
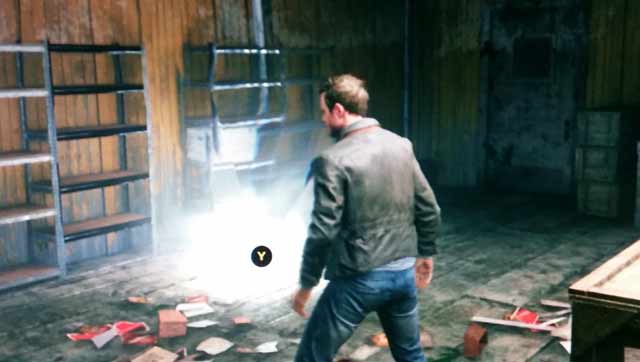
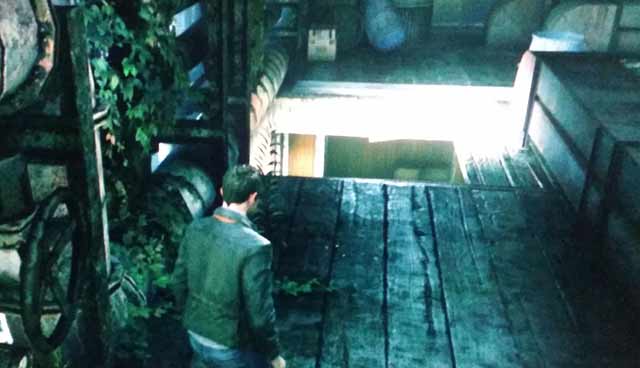
Chronon Source & Collectible No.3, No.4
As you head outside you’ll find another chronon source as well as the third and fourth collectible.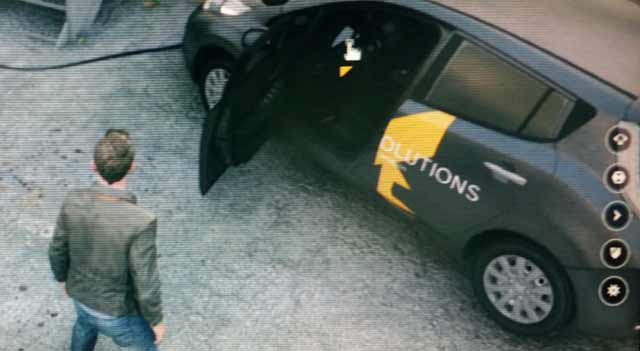
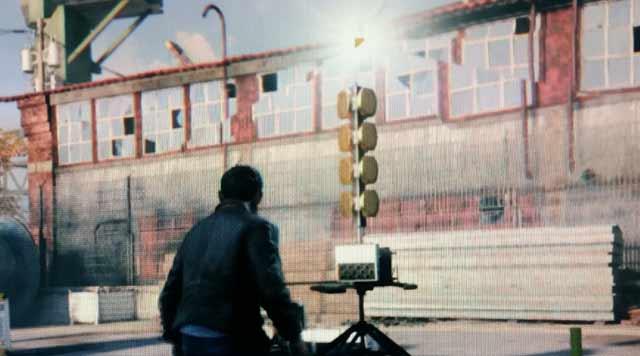 Collectible No.5 & No.6
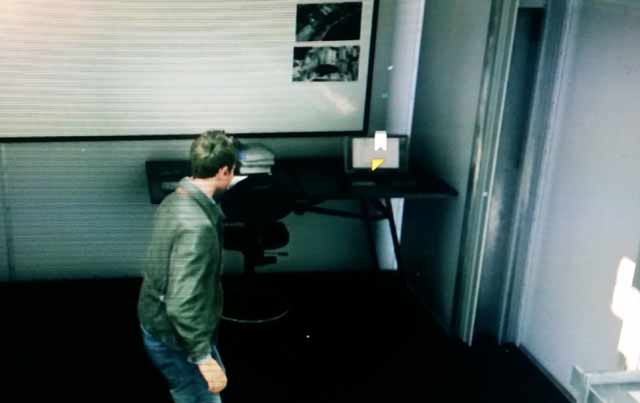
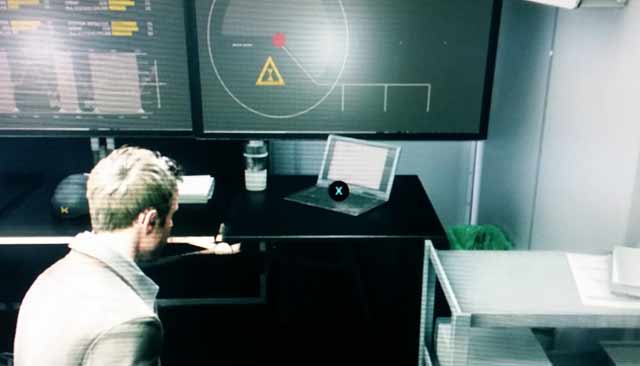
Head inside the trailer to find the fifth and sixth collectibles.
Chronon Source
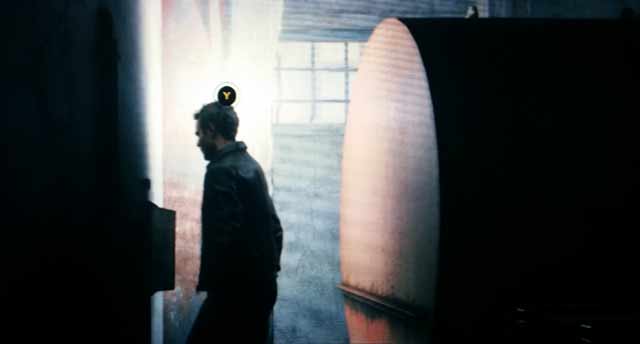
Once you leave the trailer you’ll head into a warehouse, where you’ll find a chronon source behind a big tank.
Collectible No.7
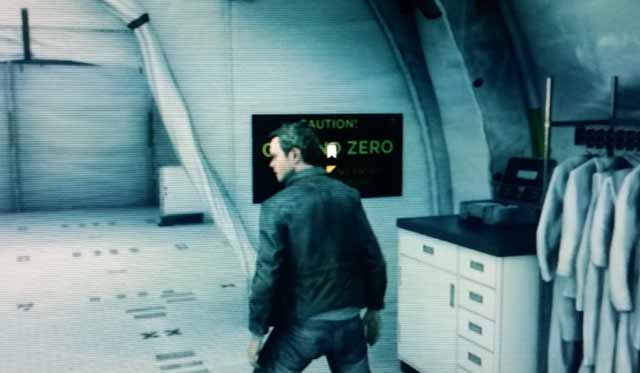
Once you’ve moved through the area, taken out all the bad guys, jumped over the crashed van and towards “Ground Zero”, you’ll see a sign that acts as the seventh collectible.
Quantum Ripple
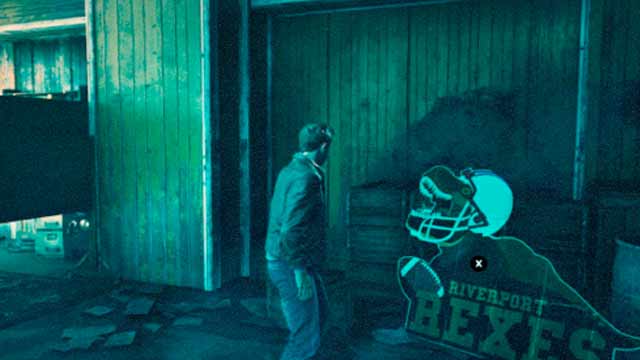
As you move through the building and time switches between night and day, you’ll come across a Quantum Ripple next to an old football sign.
Collectible 8
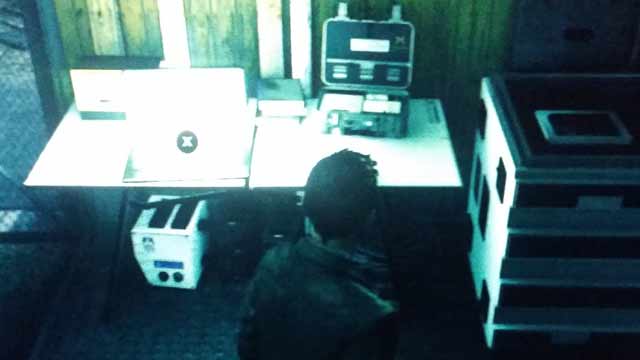
Jack will run across the skybridge into a room, where he’ll find the eighth collectible.
Collectible No.9 & No 10 and Intel
Once Jack reaches the medical room and takes out the two Monarch operatives, look for the ninth collectible, and the tenth on a tablet.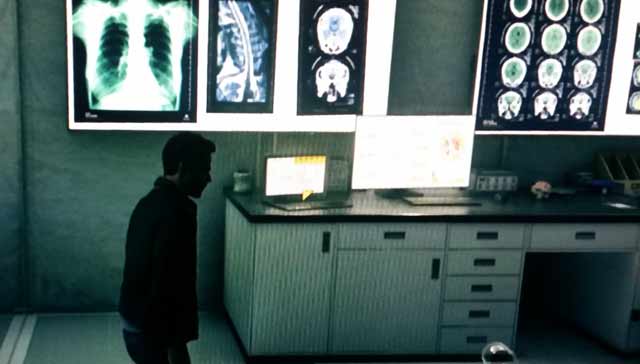
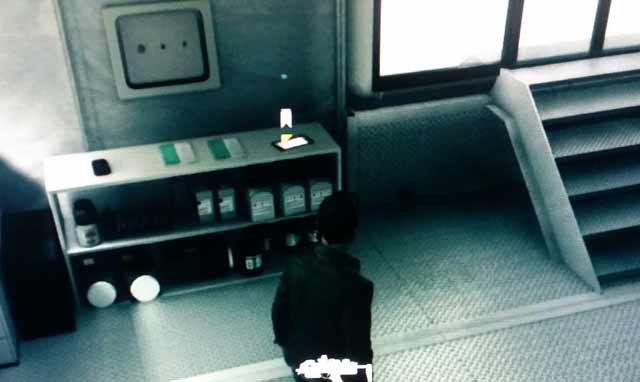
Chronon Source
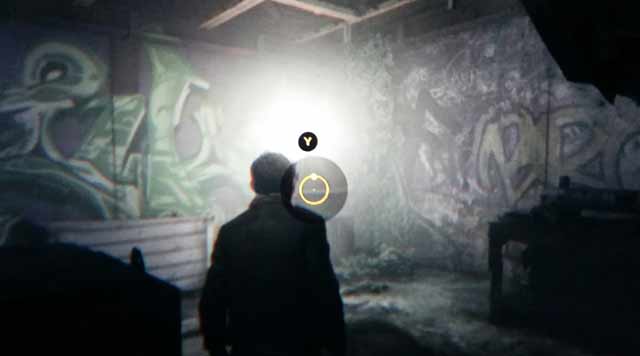
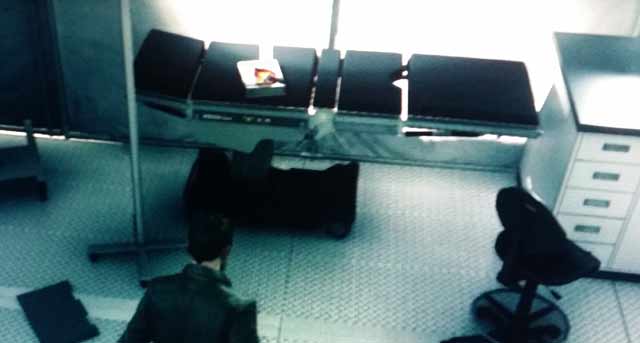
Before you leave this area looking for a big wall with graffiti art. There you’ll find another chronon source.
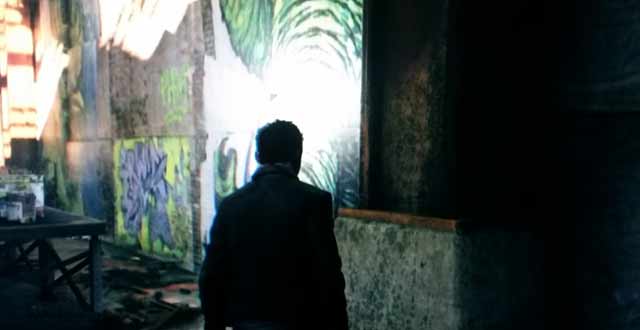
Collectible 11
Head into the tents to find collectible 11 at a laptop.
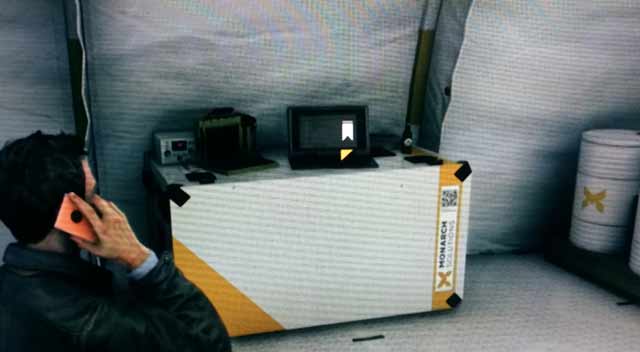
Chronon Source
Once outside the tents, head to the left and use time vision to find the chronon source floating nearby.
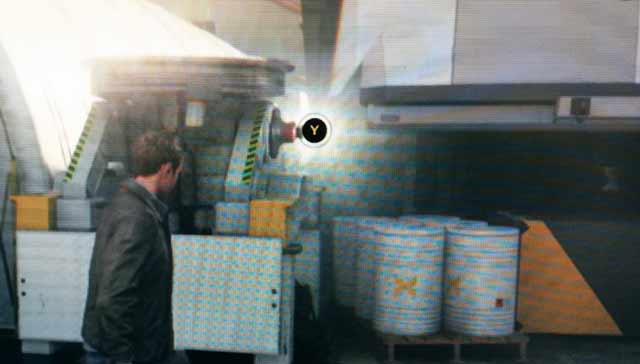
Collectible 12
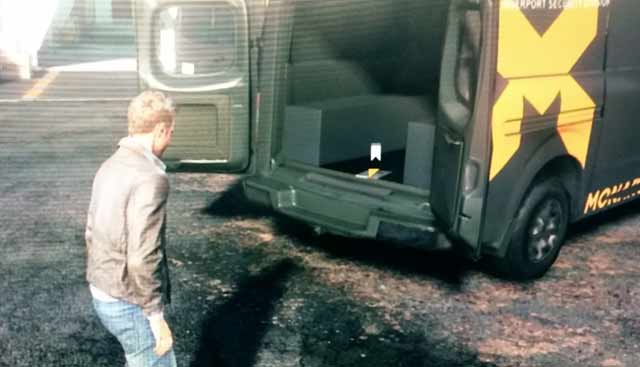
As you move forward you’ll find the twelfth collectible in a van.
Collectible 13
Back inside the tents you’ll find a tablet that houses the final collectible.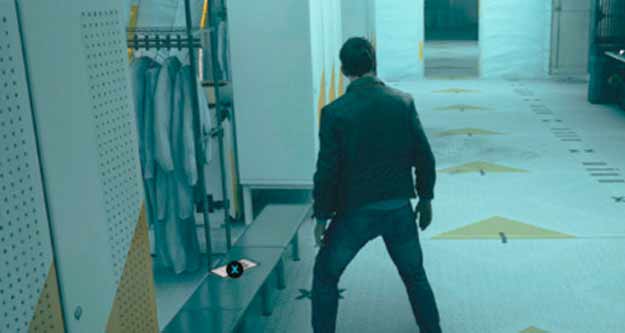
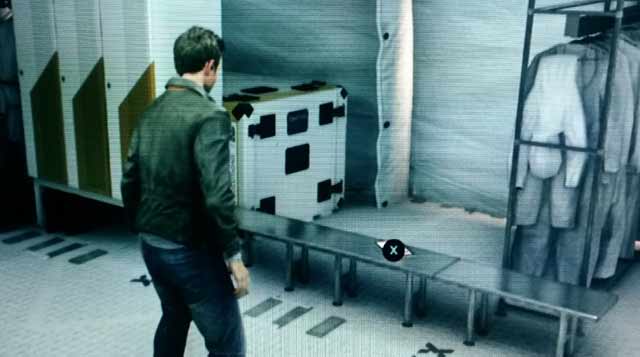
Chronon Source
The final collectible of this part is located behind some lockers.
PART 3
| Chronon Sources | 5 |
| Intel | 0 |
| Collectibles | 11 |
| Quantum Ripples | 0 |
Chronon Source 1 & 2
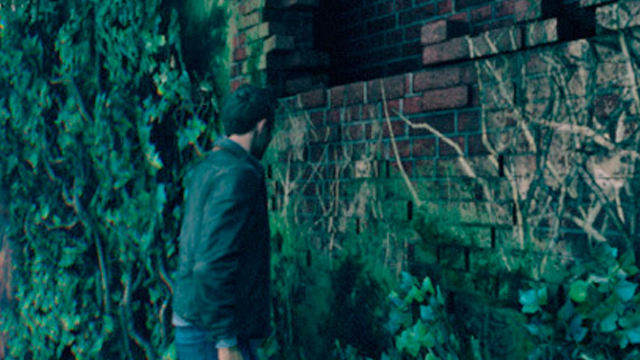
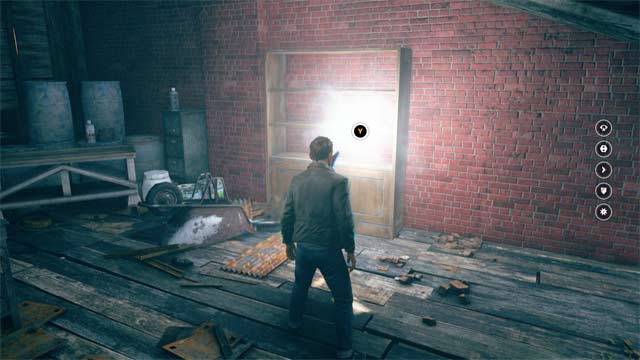
After using Time Vision to bring the van into place and climb onto the ledge, look for the first Chronon Source on the side of the roof near some graffiti. There’s another one inside the attic on the shelf.
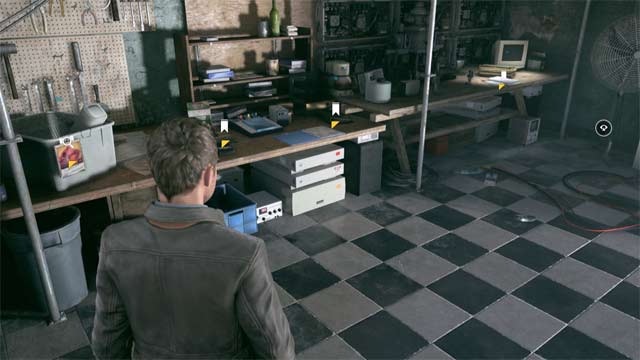
Collectibles 1-4
There are the first four collectibles all next to each other inside the first office room you enter.
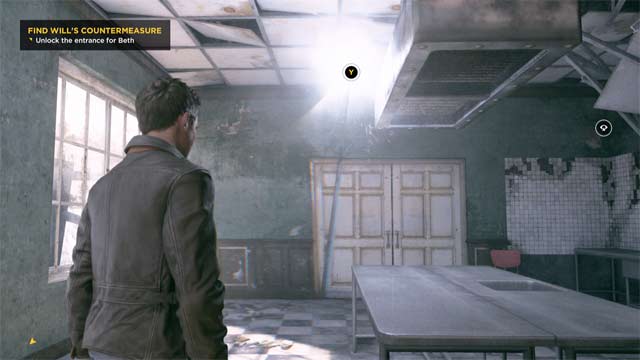
Chronon Source No. 3
The third chronon source can be found to the opposite of the ventilation system above a central table.
Chronon Source No.4
After you watch the recording on the TV and break through the door, and before you go into the labratory, follow the red cables on the follow to the female bathroom to find another chronon source.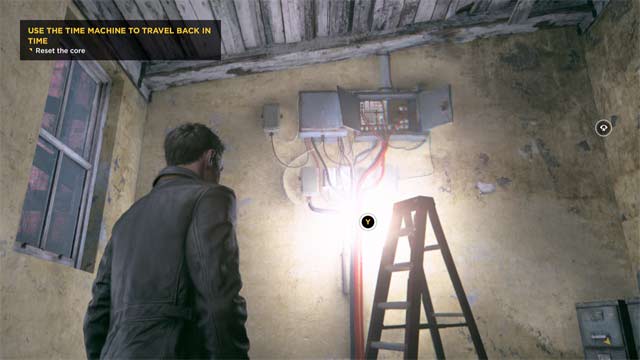
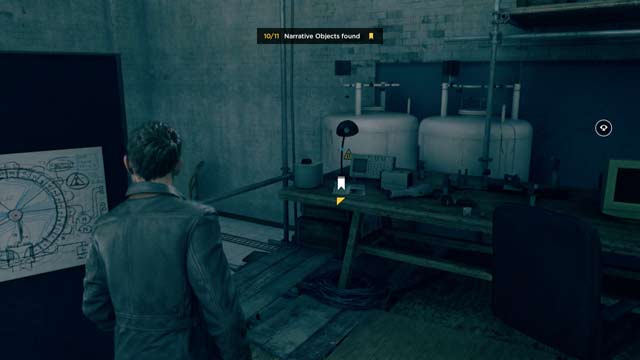
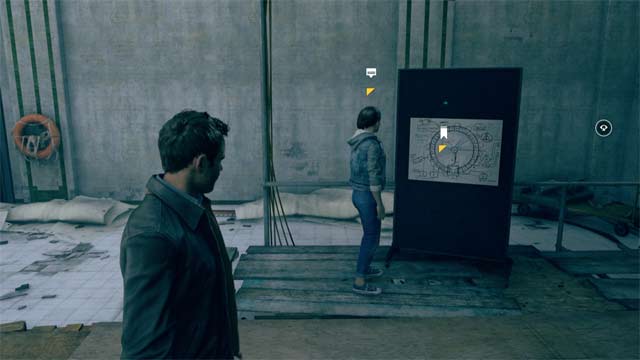
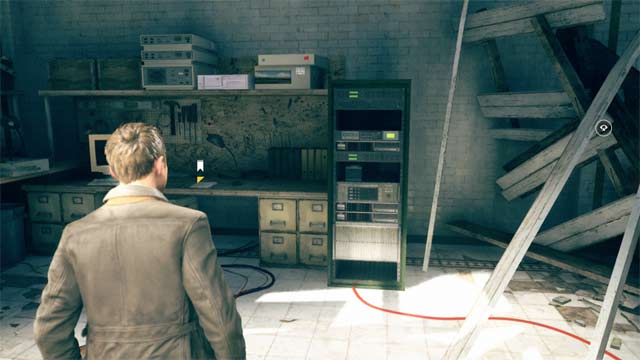
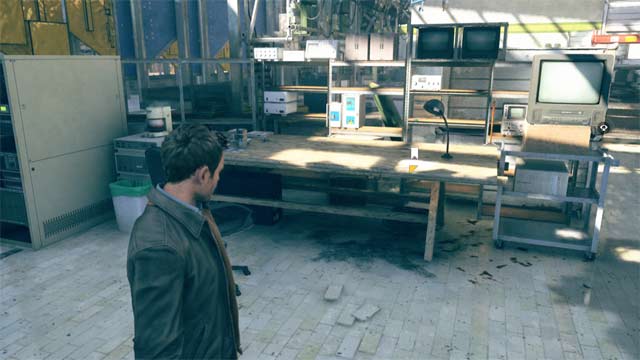
Collectibles 5-11
Seven collectibles can be found scattered throughout the laboratory.
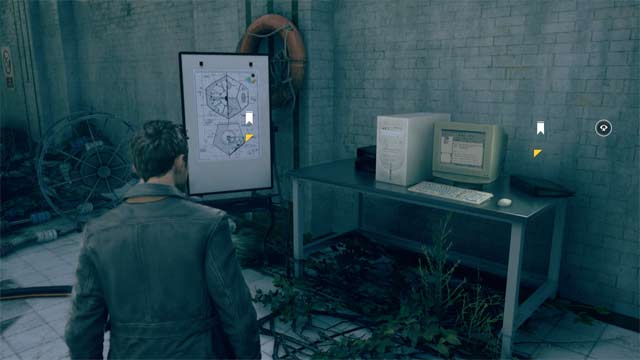
Chronon Source No.5
The fifth chronon source can also be found in this area.
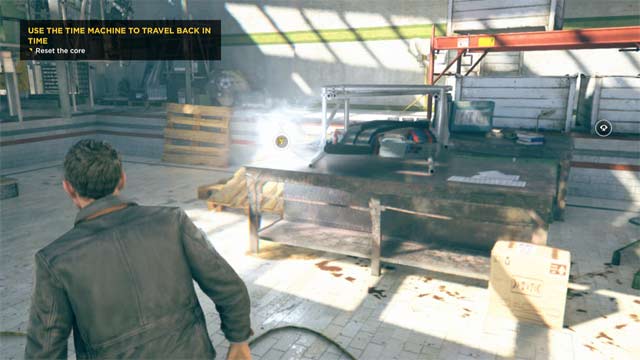
Junction 2
| Chronon Sources | 0 |
| Intel | 0 |
| Collectibles | 1 |
| Quantum Ripples | 0 |
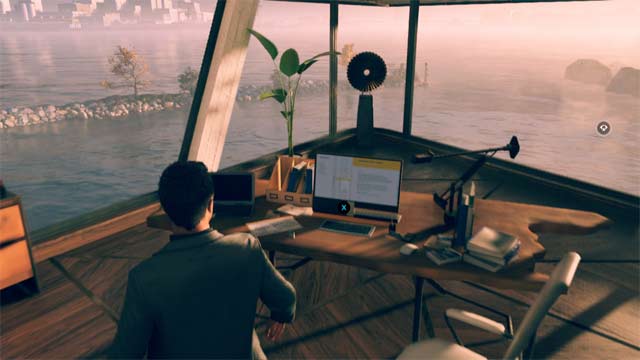
Collectible No.1
The one and only collectible here can be found in the corner on the laptop.
Next Page: Quantum Break Collectibles Guide Act 4
ACT 3
PART 1
| Chronon Sources | 8 |
| Intel | 2 |
| Collectibles | 17 |
| Quantum Ripples | 1 |
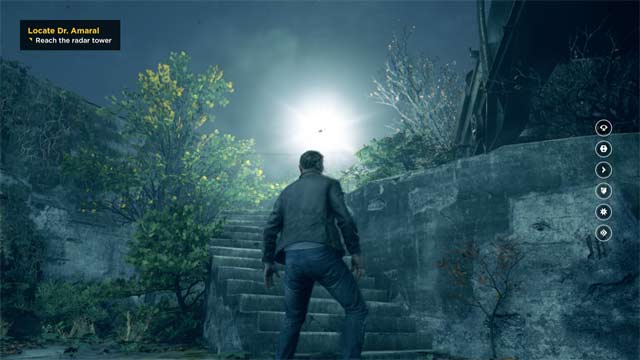
Chronon Source No.1
After working your way past and disabling the turret, walk up the stairs to find the first chronon source.
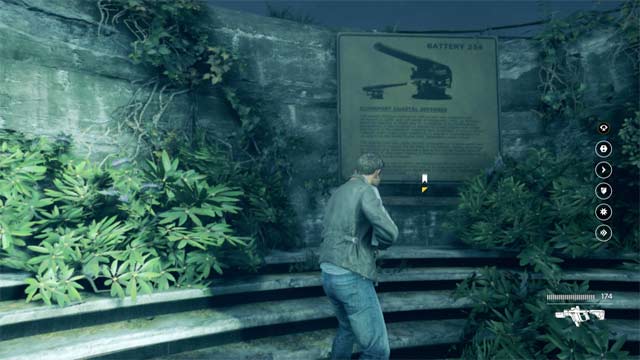
Collectible No.1
Check out the billboard about the canon for the first collectible.
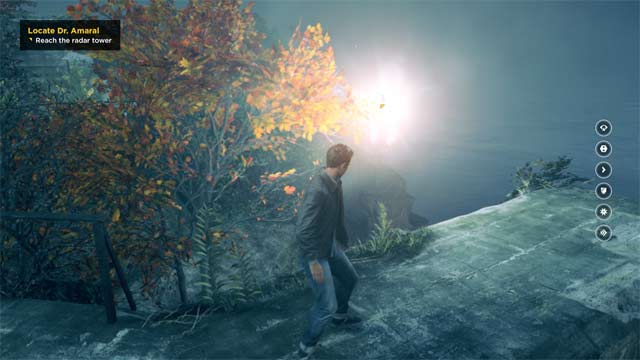
Chronon Source No.2
The second chronon source is along the walkway, which you’ll need to build with Time Vision.
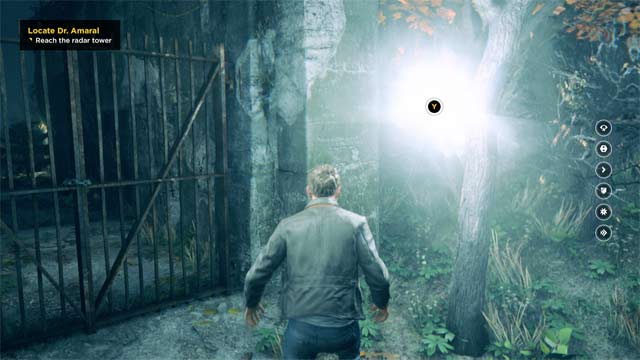
Chronon Source No.3
As you work your way up and across the canon, you’ll find the third one next to a locked gate.
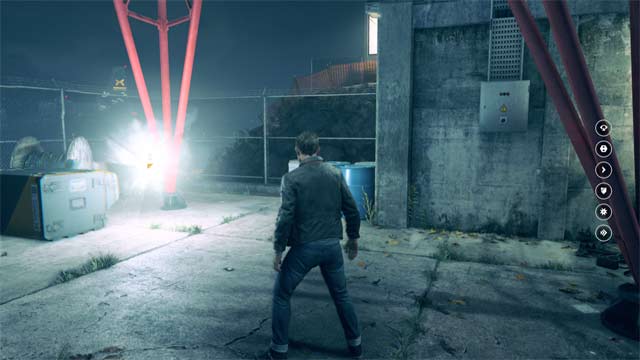
Collectible No.2 & Chronon Source No.4 and No. 5
Once you take out the snipers and all of the Monarch enemies, you’ll find the second collectible inside the little shed, and two Chronon Sources
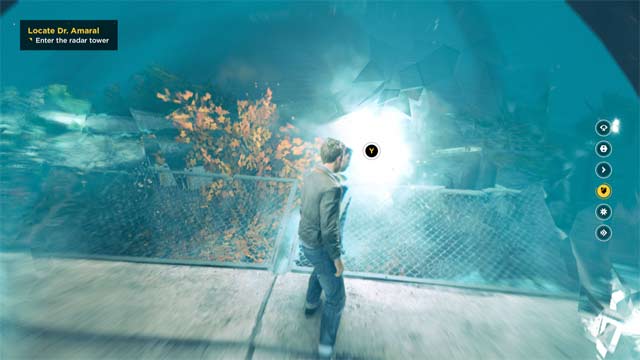
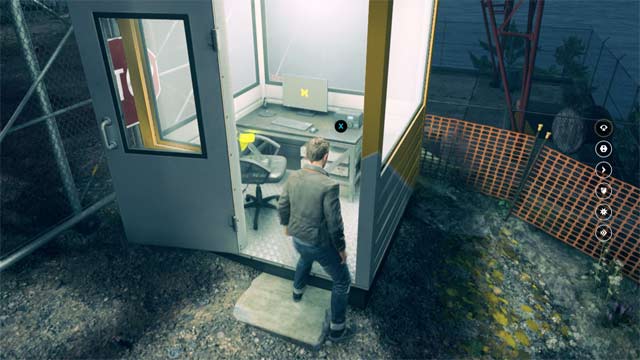
Collectible No. 3 and Quantum Ripple
Once inside you’ll find the third collectible and the level’s quantum ripple.
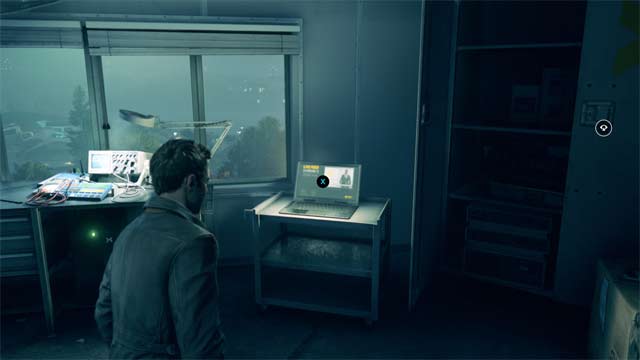
Collectible No.4
Look at the HQ map for the collectible.
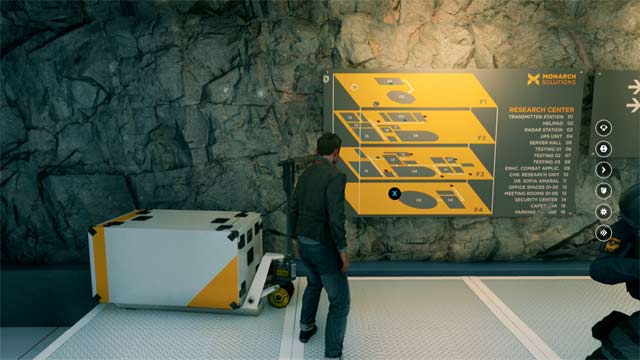
Chronon Source No.6
Look around for a second map and the sixth chronon source.
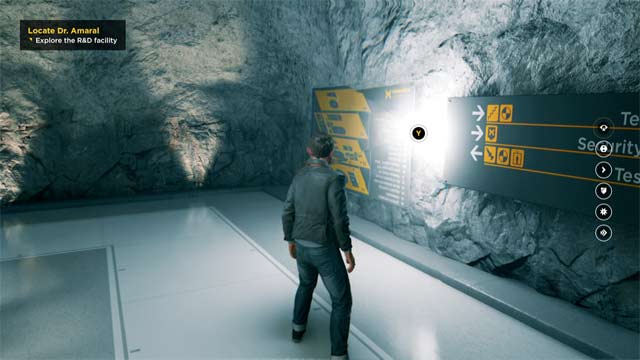
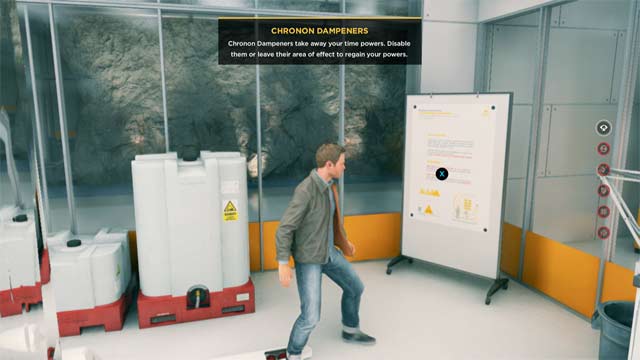
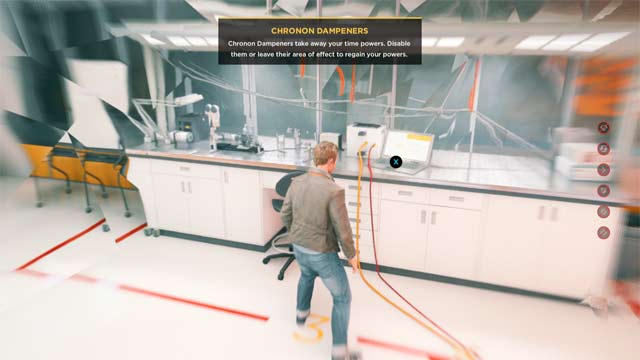
Collectibles 5 and 6
Work your way into the lab room and look at the poster and laptop for the fifth and sixth collectibles.
Collectible No. 7
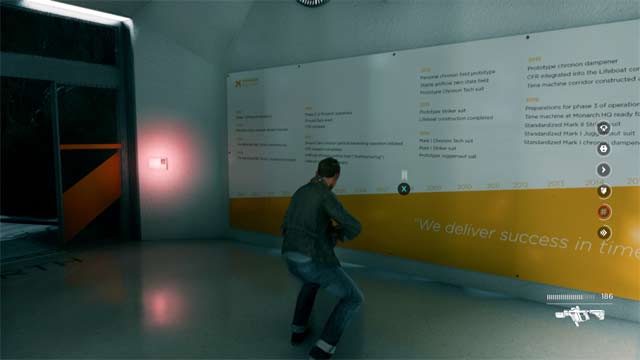
Work your way through the Monarch enemies to a timeline poster for the seventh collectible.
Chronon Source No.7
There’s a chronon source at the end of this same hallway.
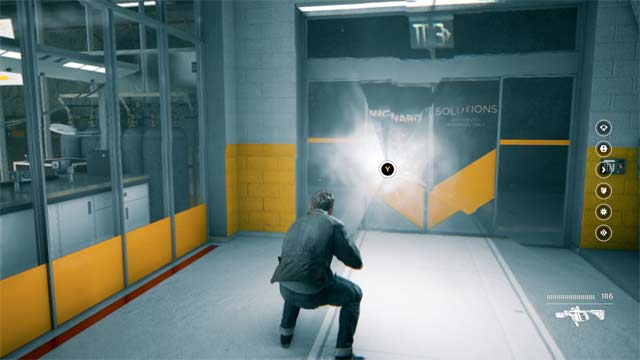
Collectibles 8-17 & Intel 1 & 2
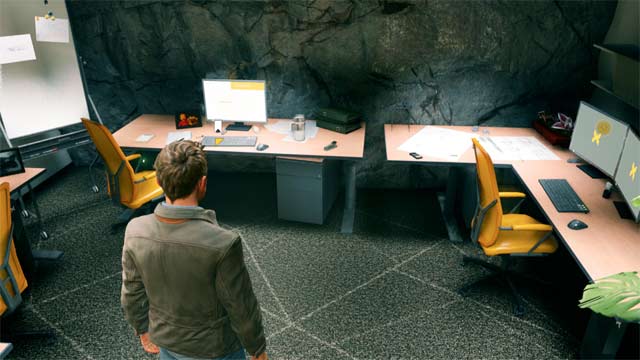
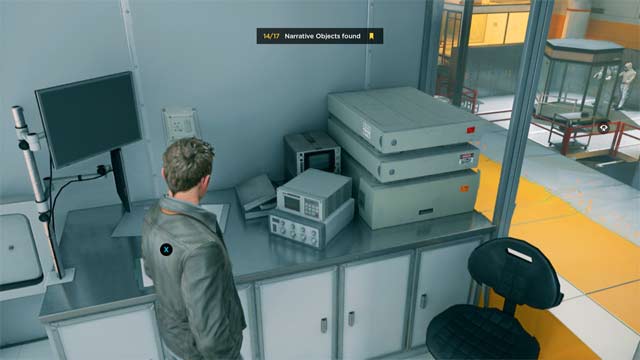
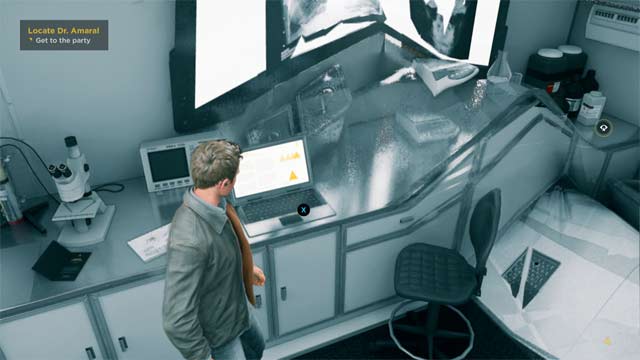
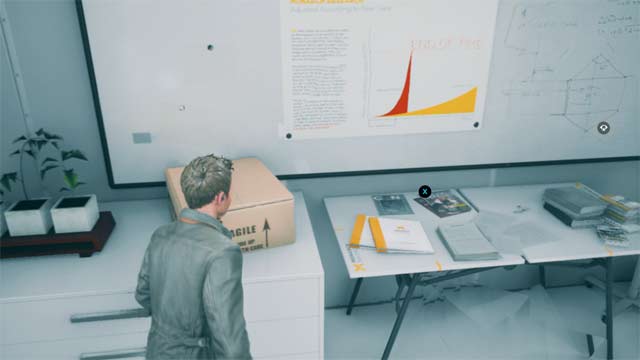
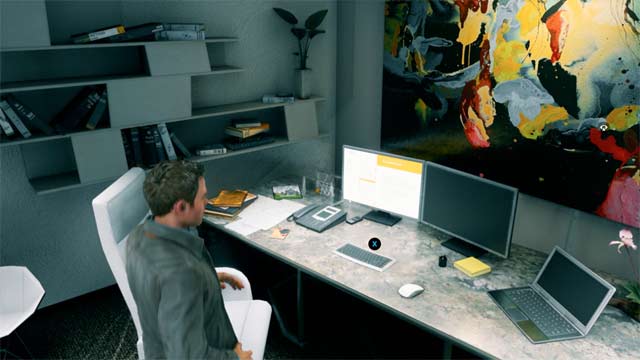
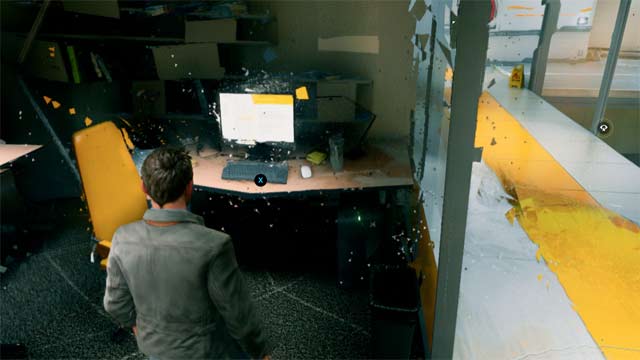
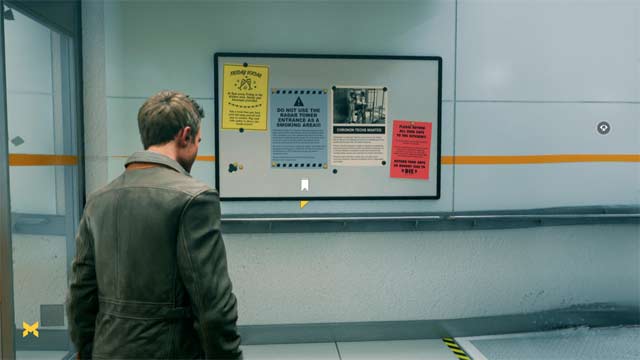
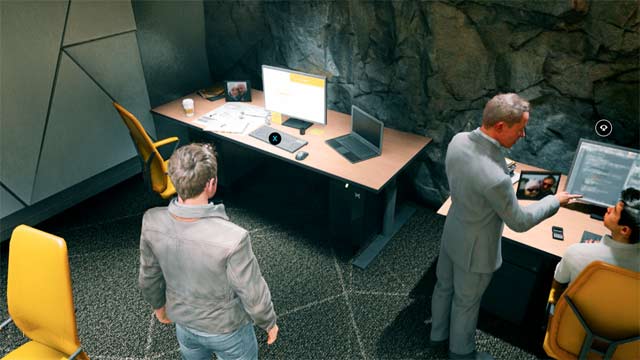
Once you arrive in the office area, search every office on both floors for the remaining collectibles, and two intel pieces.
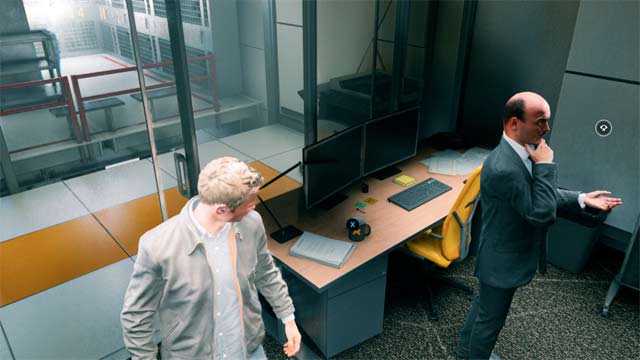
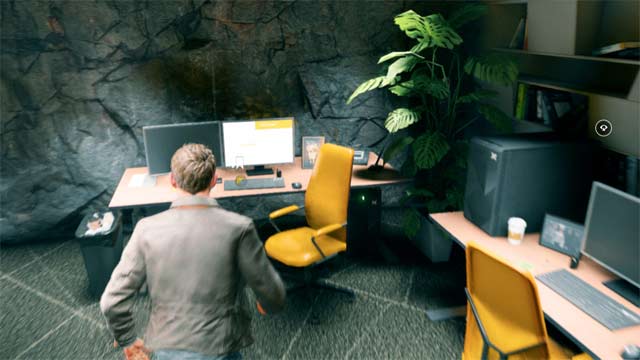
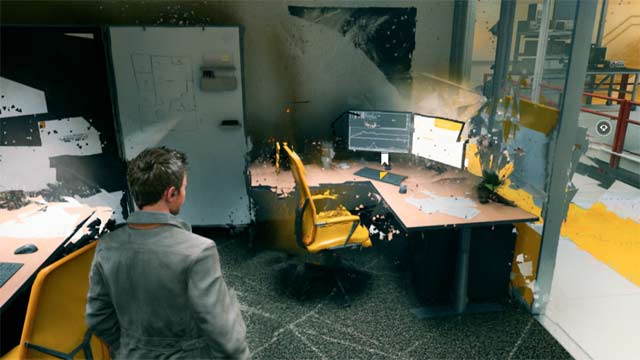
Chronon Source No.8
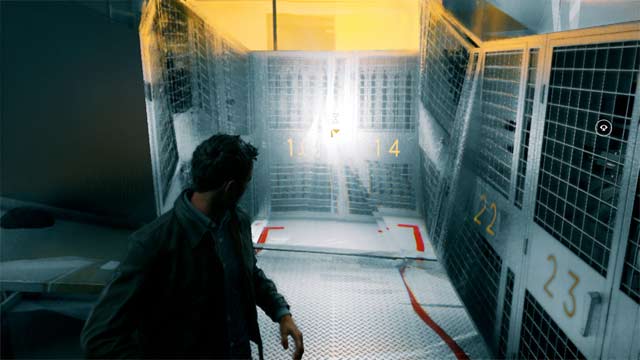
The final chronon source is locked between some lockers on the ground floor.
PART 2
| Chronon Sources | 8 |
| Intel | 1 |
| Collectibles | 7 |
| Quantum Ripples | 1 |
Collectible No.1-3, Chronon Source No.1
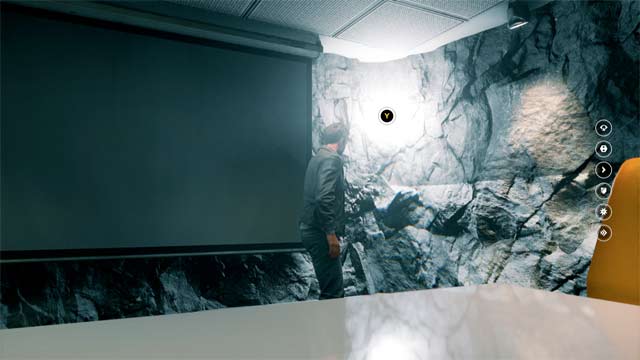
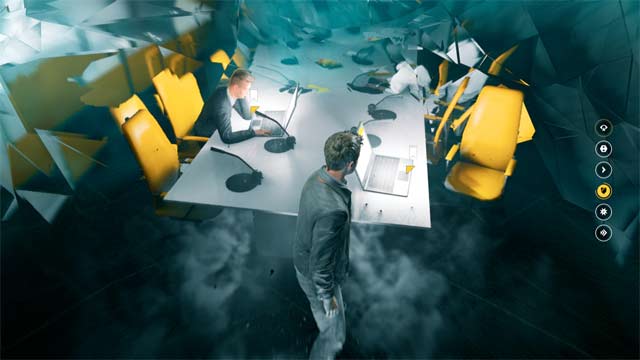
The first three collectibles is available at the start of the level in the offices, and the first chronon source in an office on the second level.
Chronon Source No.2
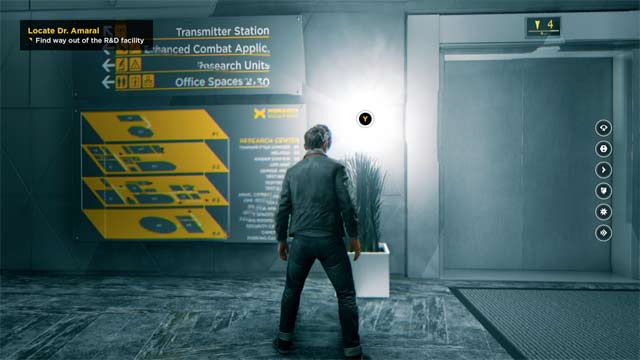
Located next to the elevator.
Quantum Ripple
Take out all of the bad guys in the parking garage, and then grab the quantum ripple from the tablet on the other side of the area.
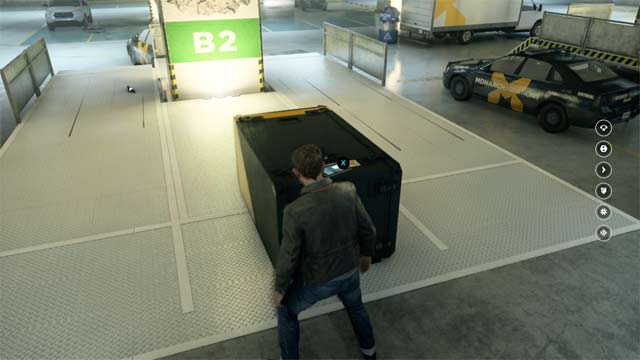
Collectible No. 4
Check out the radio for the fourth collectible.
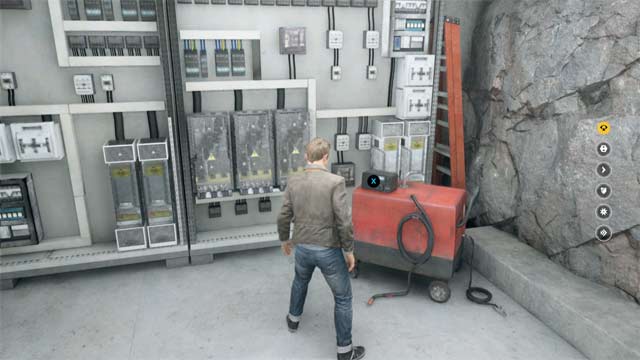
Chronon Source No.3
Be sure to grab the third chronon source before heading up the stairs.
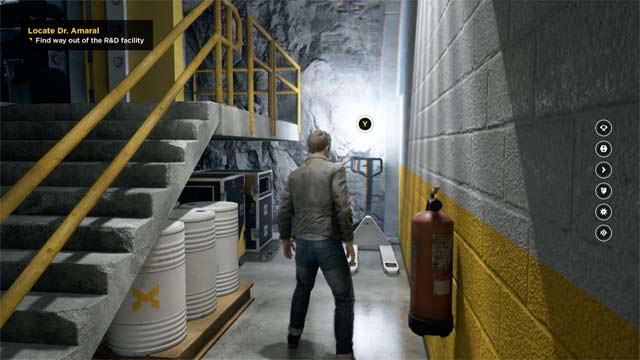
Chronon Source No.4
As you head outside you’ll find the fourth one outside the locked gate.
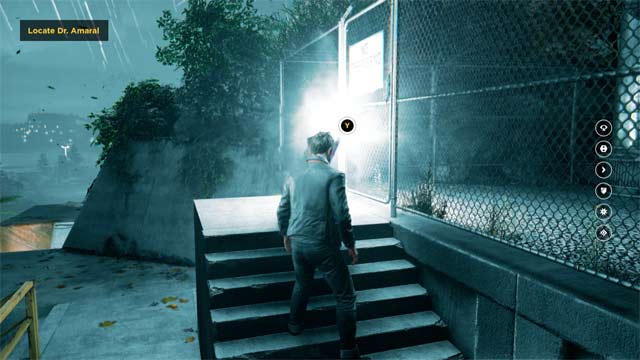
Collectible No.5
After you take out all the bad guys, you’ll find the fifth collectible in a car on your way to the mansion.
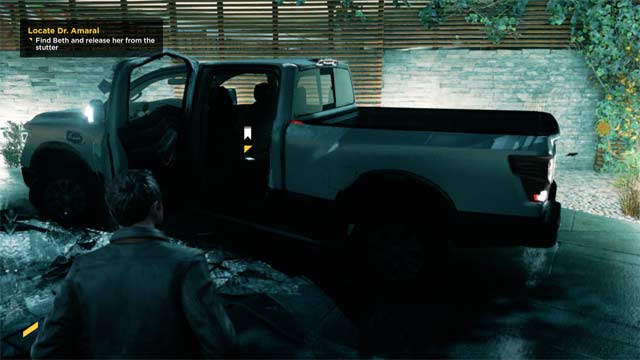
Chronon Source No.5
The fifth source is located on the stage.
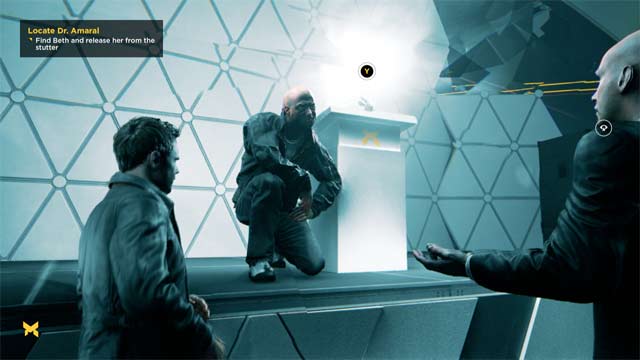
Collectible No.6, Chronon Source No.6 and Intel
Head over to the couch after the brief cutscene to find the sixth collectible and a piece of intel.
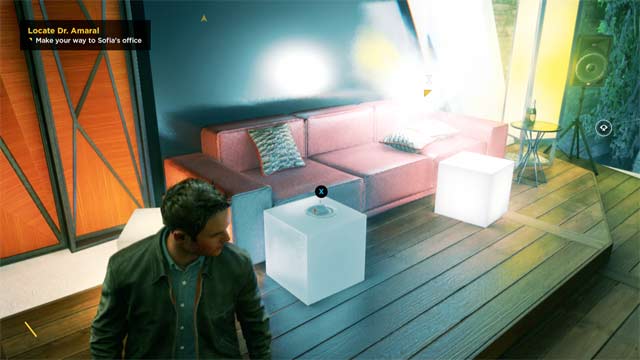
Collectible No.7
Moving further through the house you’ll find the seventh collectible on a coffee table.
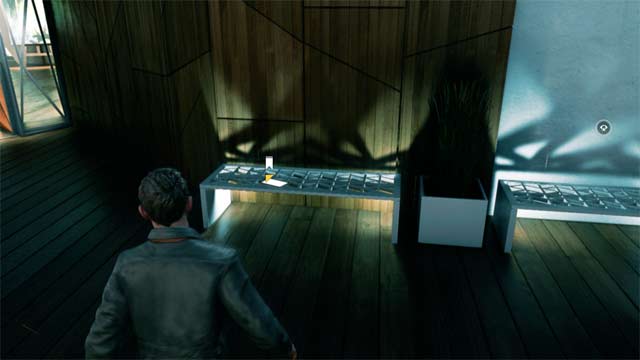
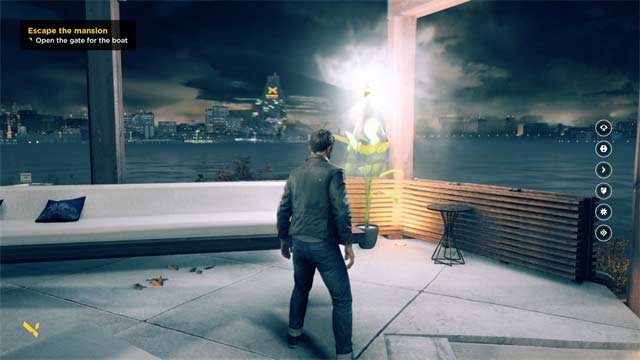
Chronon Source No.7
On the patio next to one of the pillars.
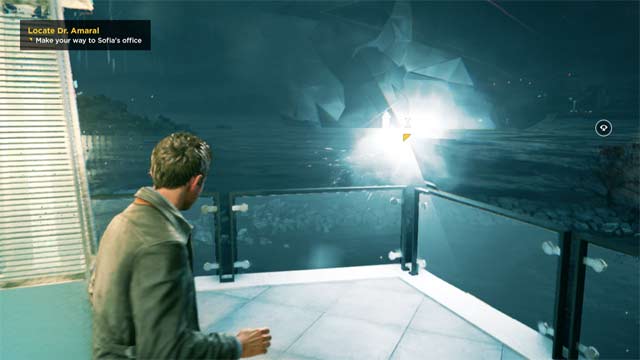
Chronon Source No.8
Once you take out the snipers and LMG bad guys, you’ll find the final Chronon Source on the patio.
ACT 4
PART 1
| Chronon Sources | 6 |
| Intel | 0 |
| Collectibles | 5 |
| Quantum Ripples | 0 |
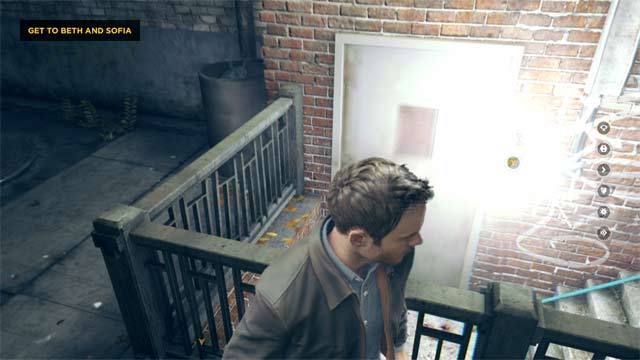
Chronon Source No.1
The first Chronon Source is on the railing near the staircase.
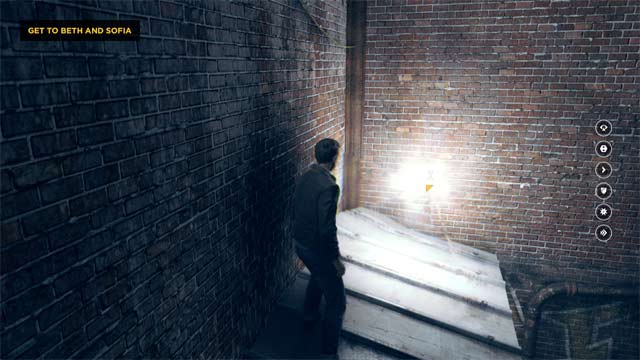
Chronon Source No.2
After working your way up the boxes you’ll find the second chronon source opposite the tanker.
Collectibles No.1 and No.2
As you work your way into the building you’ll find the first and second collectibles.
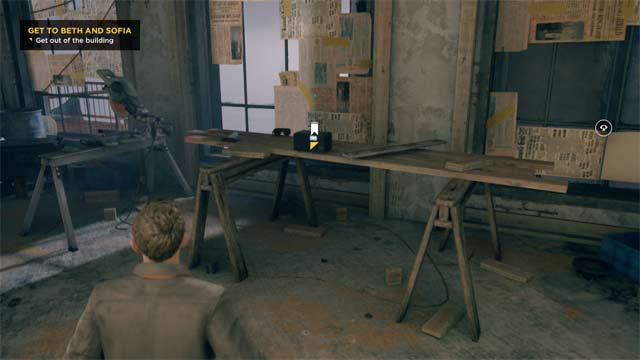
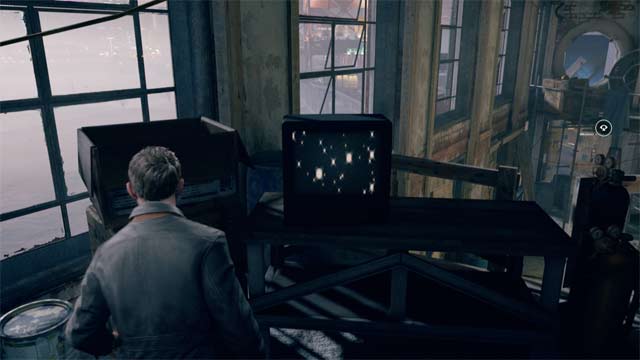
Chronon Source No.3
Outside the house on the stair railing is the third chronon source.
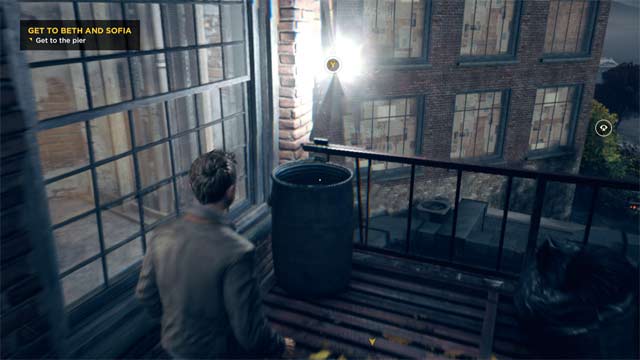
Chronon Source No.4
After you take out all of the enemies you’ll find the fourth source in a gated area.
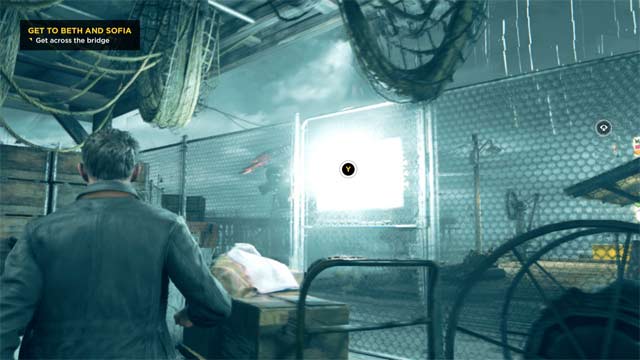
Chronon Source No.5 & Collectibles 3-5
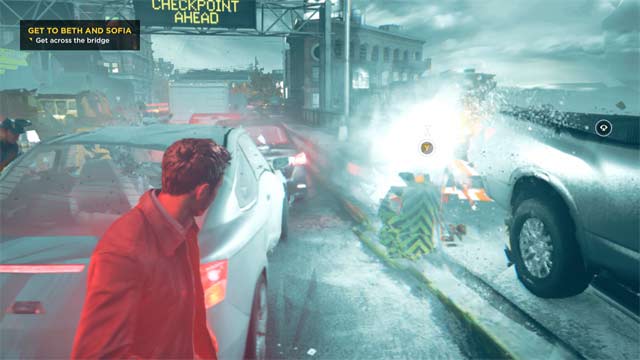
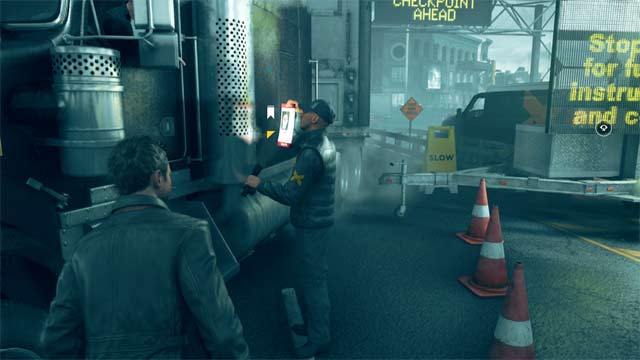
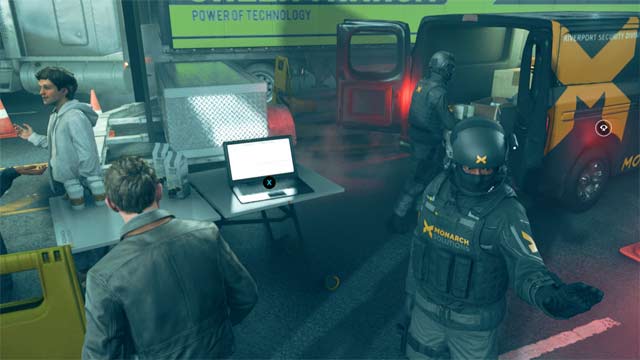
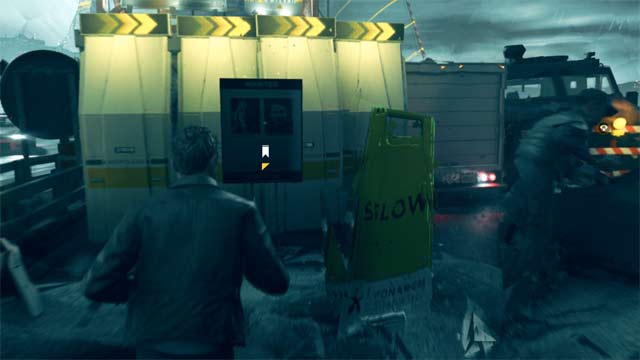
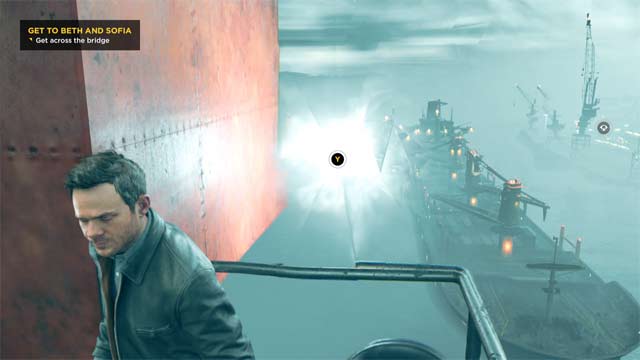
Once you walk up the stairs onto the bridge where everyone is frozen in time, you’ll find three collectibles and one chronon source.
Chronon Source No.6
After you take out the juggernaut, look for a yellow ladder. Climb it, and find the sixth chronon source at the top.
PART 2
| Chronon Sources | 3 |
| Intel | 0 |
| Collectibles | 12 |
| Quantum Ripples | 1 |
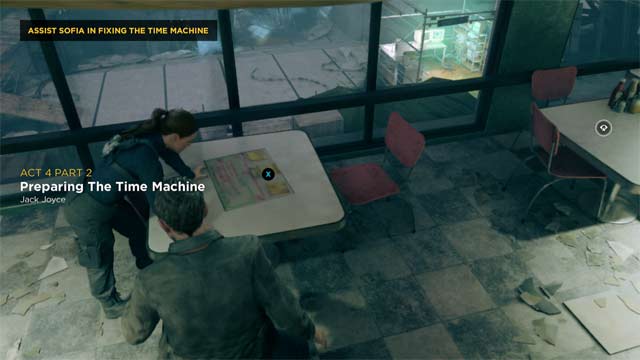
Collectibles No.1 and No.2
You’ll findthe first two collectibles in the room the part starts in.
Collectible No.3
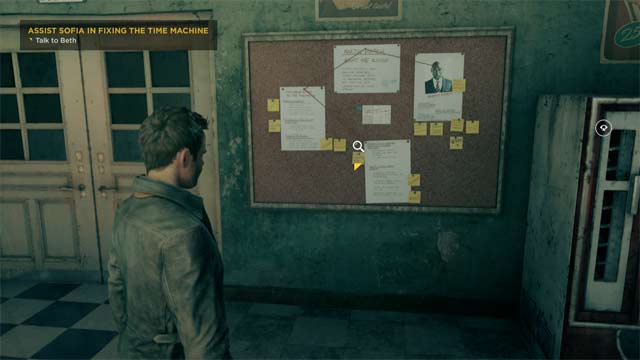
After speaking with Beth, you’ll walk through the door to find the third collectible.
Chronon Source No.1
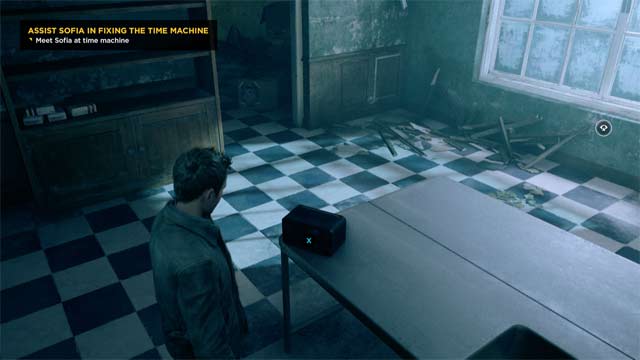
Once you reach the room with the time machine, search around for the first chronon source near the pool.
Collectibles 4-10 & Quantum Ripple
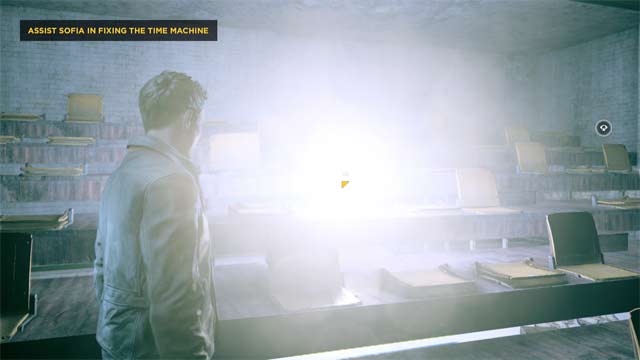
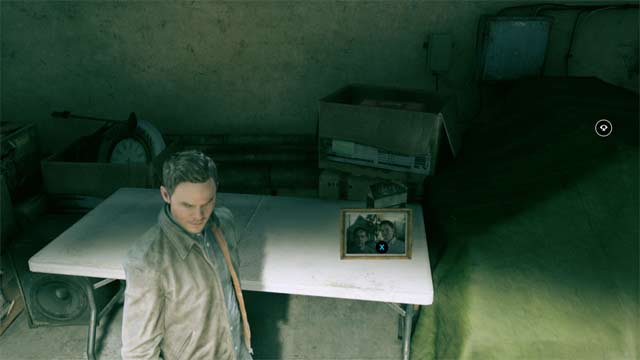
After you turn on the first switch, go over to Amy to reveal a Quantum Ripple, as well a bunch of collectibles.
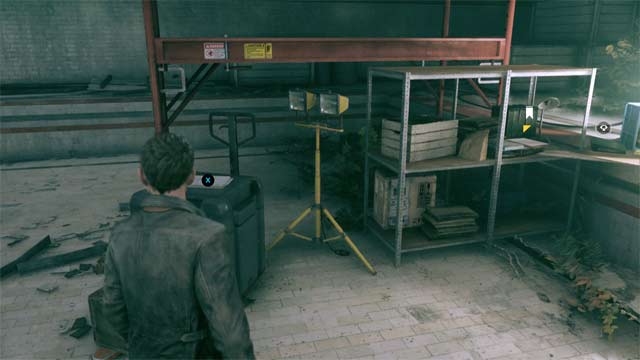
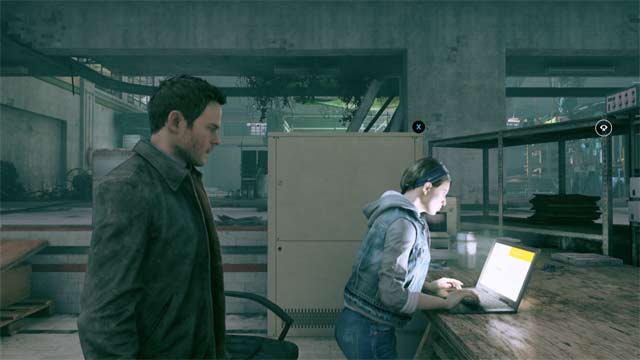
Collectibles 11-12 & Chronon Source 2
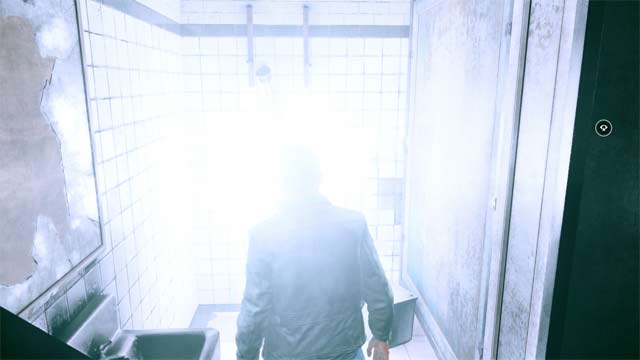
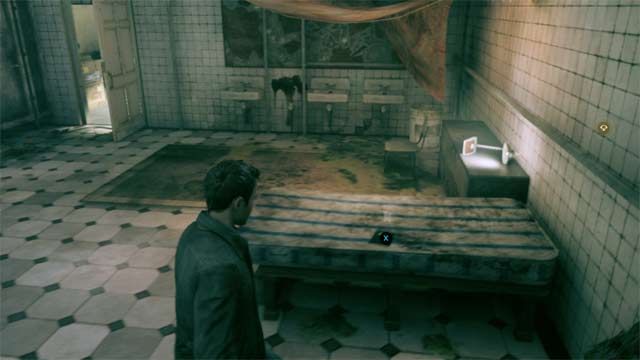
Move through the jarred door to the side of the pool. Beth will follow you, which will unlock a few collectibles and open a door to the bathrooms, where you’ll find the second chronon source./
Chronon Source No.3
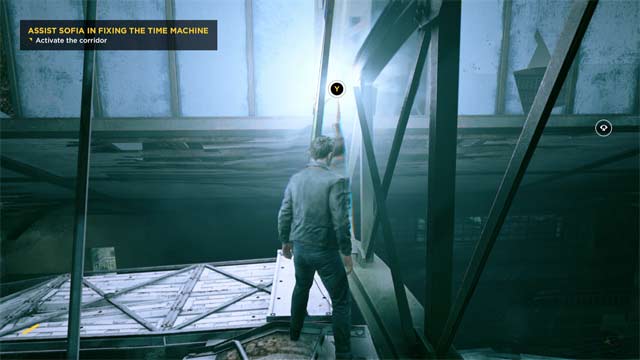
After climbing up the diving board to the second switch, use Time Vision to locate the third and final chronon source for this part.
PART 3
| Chronon Sources | 3 |
| Intel | 0 |
| Collectibles | 6 |
| Quantum Ripples | 0 |
Collectible No.1 & No.2
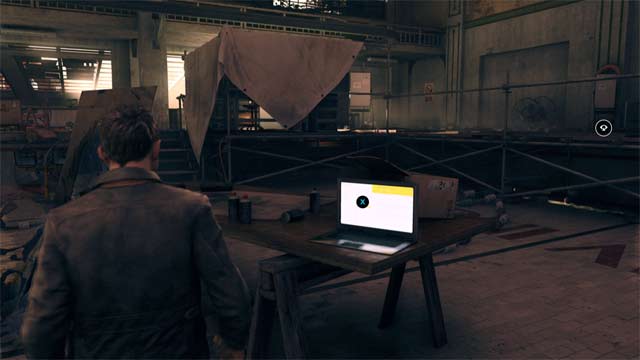
As the part starts, approach the laptop and radio for two collectibles.
Chronon Source No.1.
Head to the back where the red scaffolding is to find a chronon source.
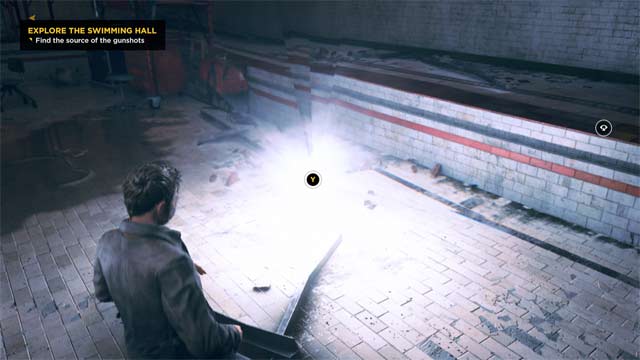
Collectibles No.3 & No.4
After investigating the sound of the gunshots, investigate to find two more collectibles.
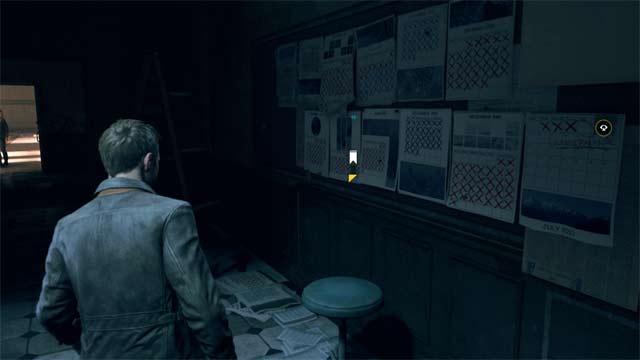
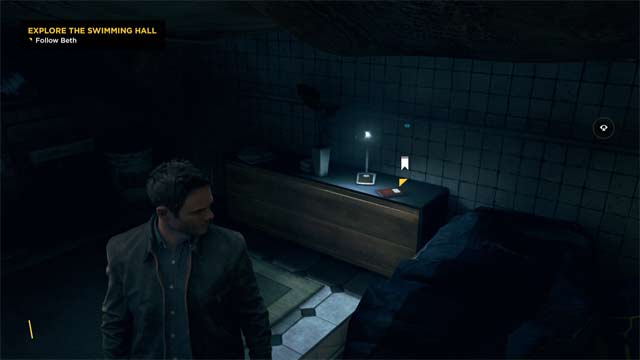
Chronon Source No.2
You’ll also find a chronon source in this area, near the staircase.
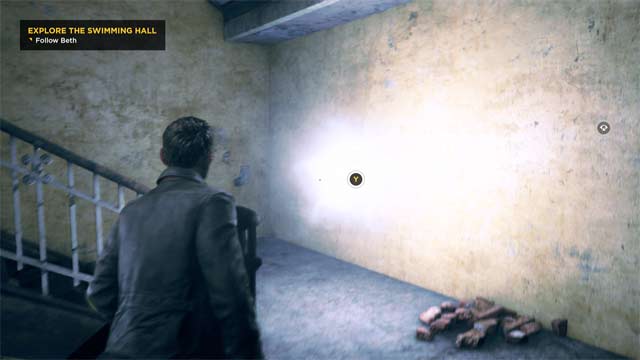
Chronon Source No.3
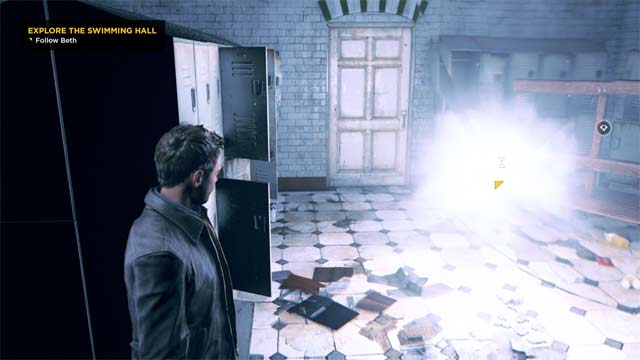
Follow Beth and look around the lockers for the third chronon source.
Collectibles No.5 & No.6
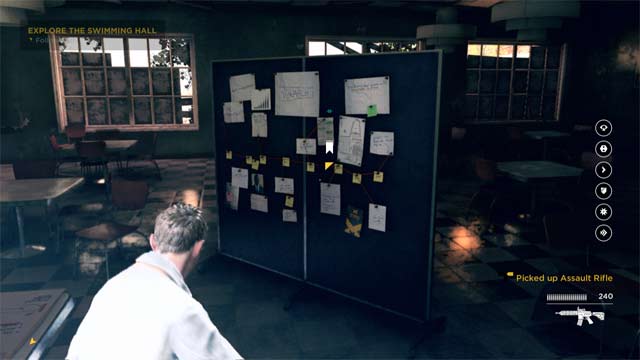
Once in the cafeteria after following Beth you’ll find two collectibles on the table and pin board.
PART 4
| Chronon Sources | 3 |
| Intel | 0 |
| Collectibles | 5 |
| Quantum Ripples | 1 |
Quantum Ripple
As you follow Beth along the roof, look for a power box. Press the switch to initiate a quantum ripple.
Chronon Source No.1
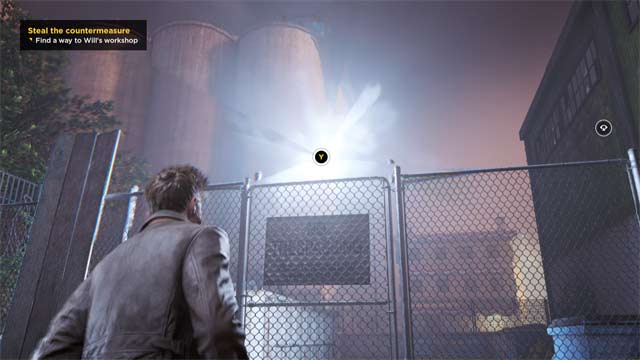
Once you reach the ground, look for a “No Trespassing” sign.
Collectibles 1-4
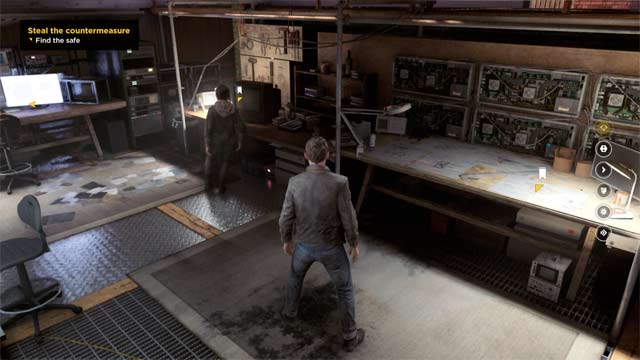
You’ll find four collectibles inside the office warehouse.
Chronon Source No.2
Look for a little gap walkway behind the television for a chronon source.
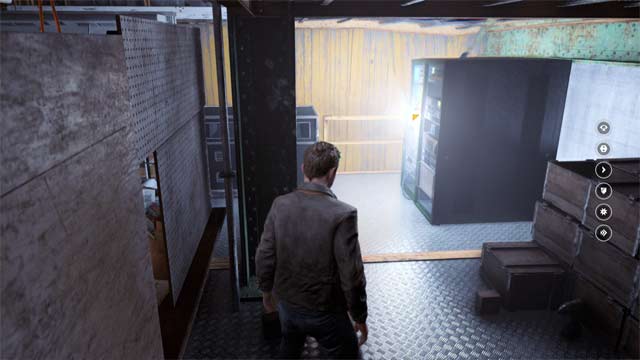
Collectible No.5 & Chronon Source No.3
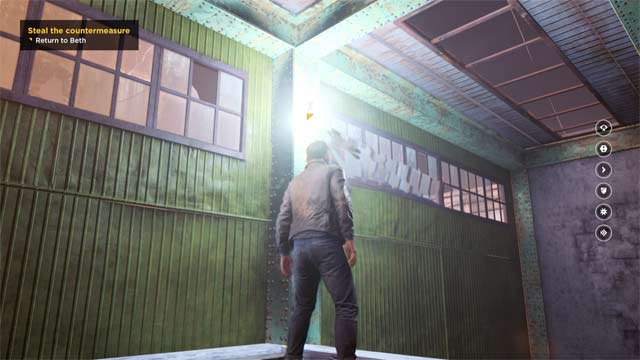
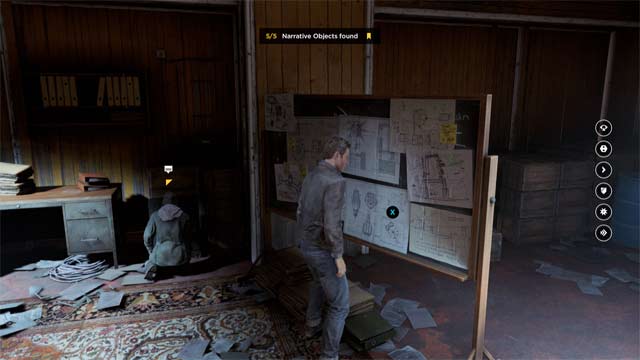
Once inside the cabling room you’ll find the fourth collectible, while outside the room, climb on the boxes onto the roof for a chronon source.
Junction 4
| Chronon Sources | 0 |
| Intel | 0 |
| Collectibles | 1 |
| Quantum Ripples | 0 |
Collectible No.1
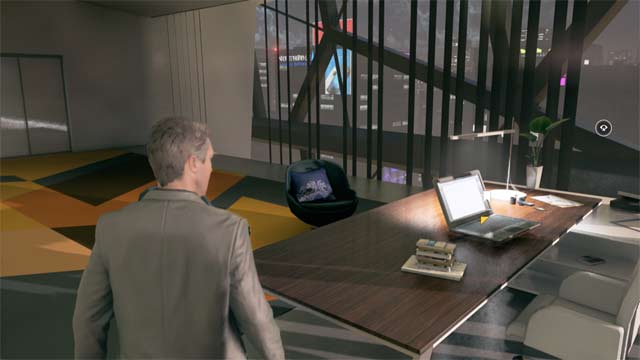
There’s only one collectible here: upstairs on the laptop.
ACT 5
PART 1
| Chronon Sources | 3 |
| Intel | 4 |
| Collectibles | 18 |
| Quantum Ripples | 0 |
Collectible No.1
The first collectible is on the receptionist desk after you take out the first string of Monarch agents.
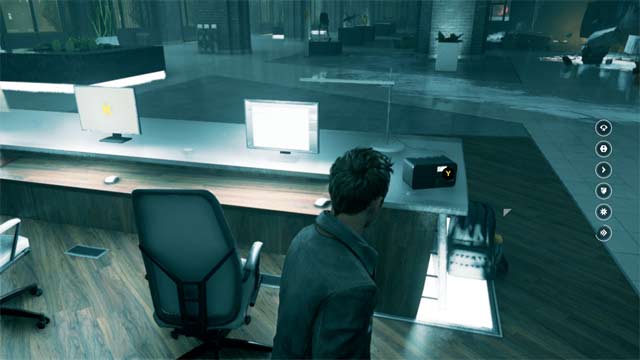
Chronon Source No.1 and Collectible No.2
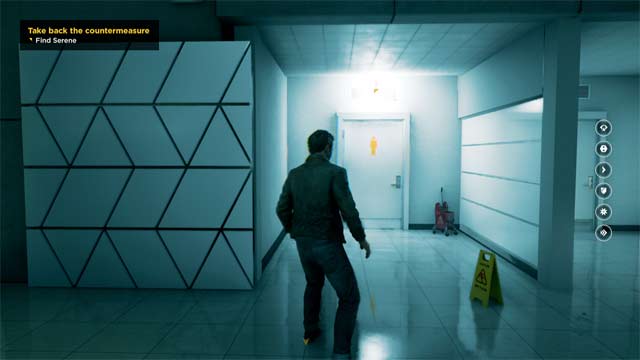
The first chronon source can be found before you get on the elevator and after you get past the first door. There’s also a collectible on the map.
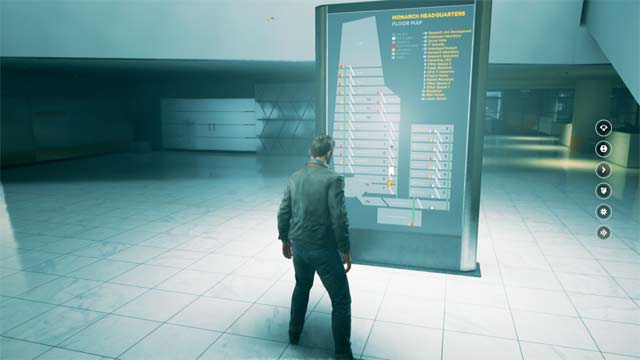
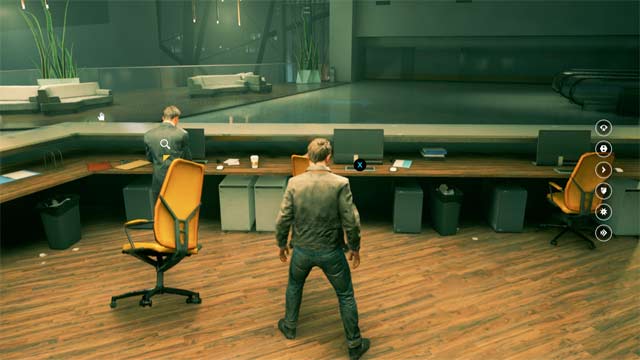
Collectibles No.3-No.5 and Intel
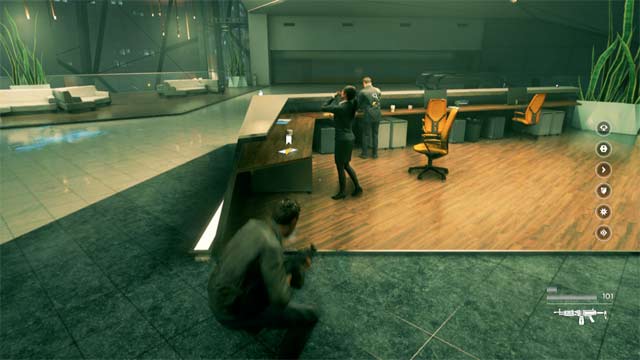
After you go up the escalator and take out the enemies, you’ll find some collectibles at the reception desk.

Collectibles No.6 & No.7
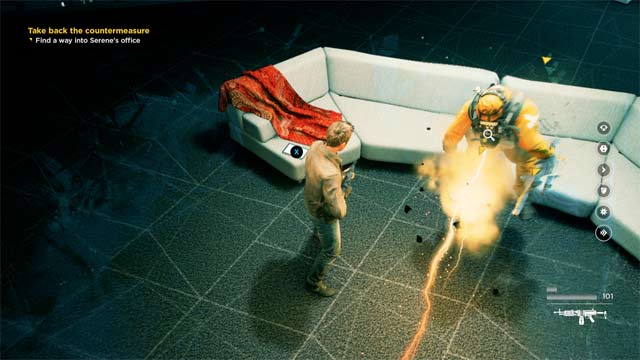
Take out the next group of Monarch agents to find some collectibles on the couch.
Collectibles No.8 & No.9
Once you take out the Juggernauts, you’ll find two more collectibles.
Collectibles No.10-No.13, Chronon Source No. 2, Intel
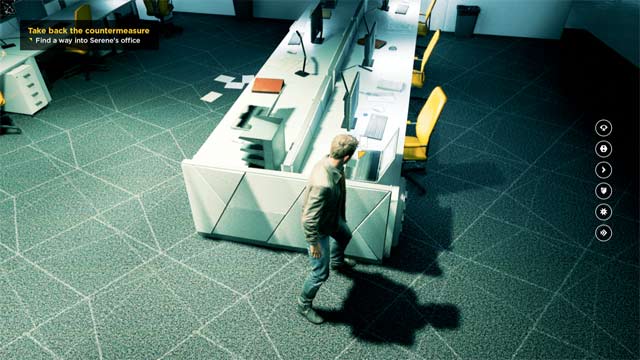
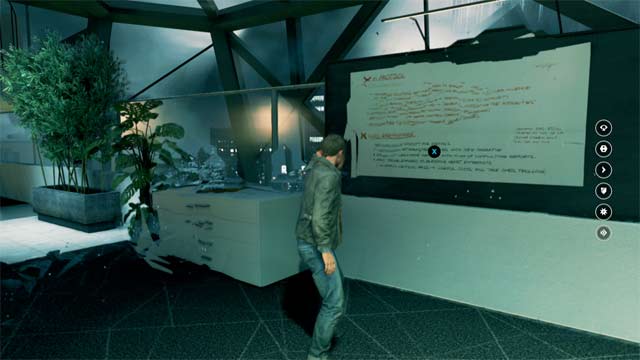
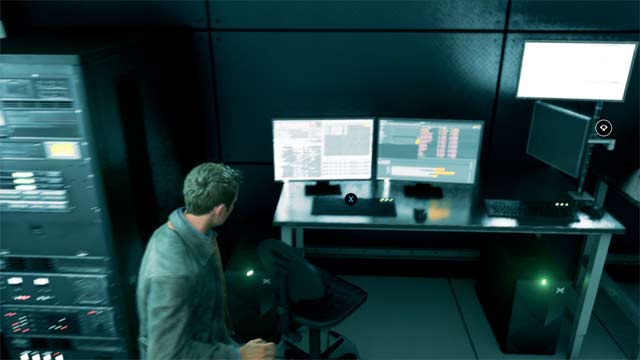
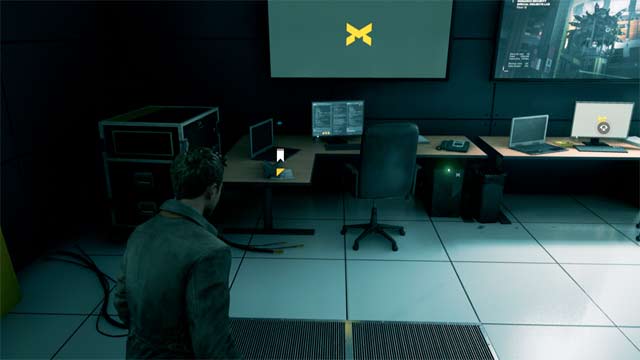
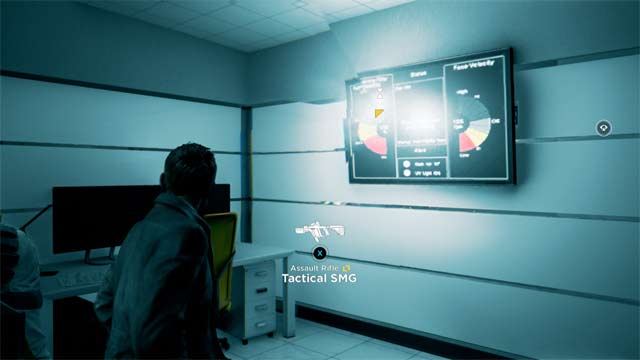
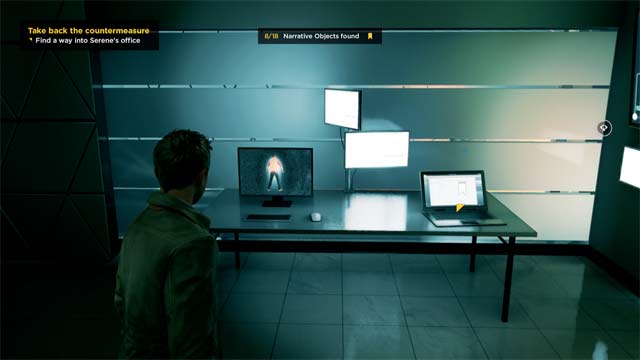
In the offices you’ll find some collectibles, a chronon source and some intel.
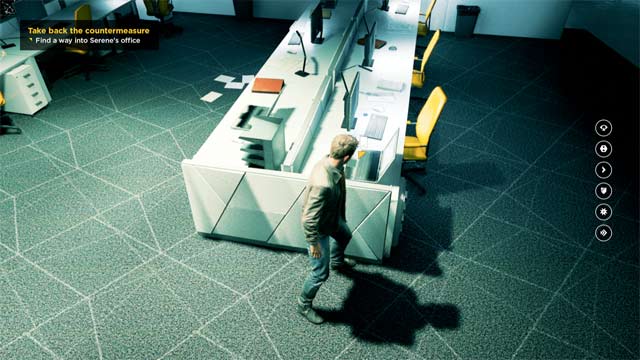
Collectible No.14
As you move further through the offices you’ll find the fourteenth collectible.
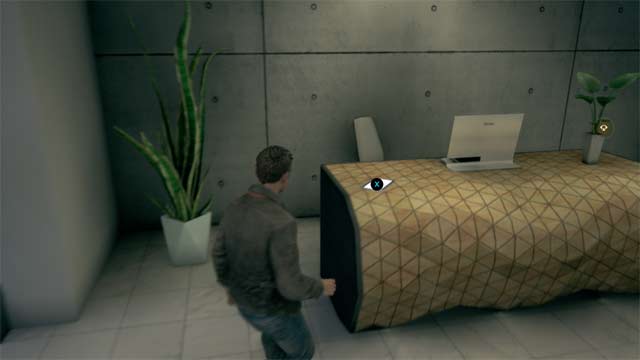
Collectible No.15
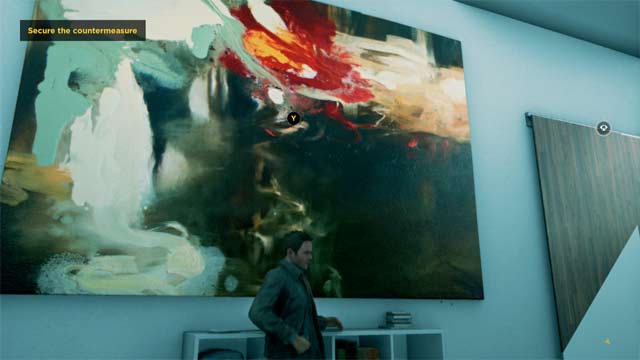
As you move towards the bedroom you’ll find another collectible.
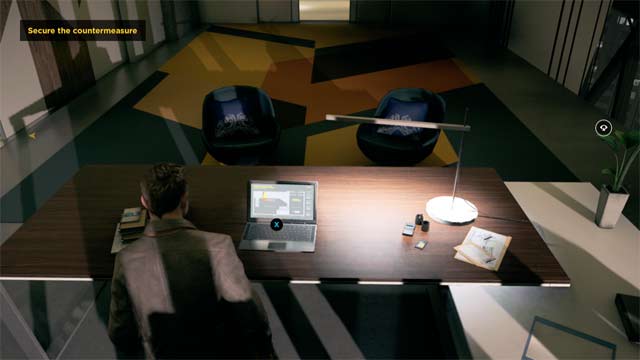
Collectibles No.16 & No.17, Chronon Source No. 3, Intel
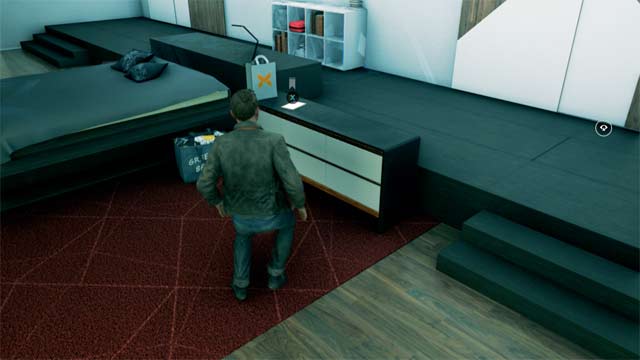
In the bedroom you’ll find some collectibles, as well as downstairs near the timeline.
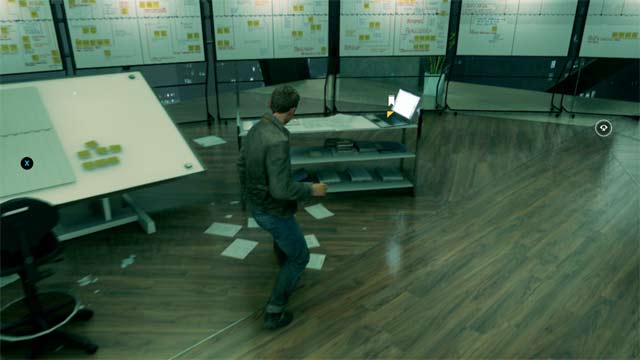
Collectible No.18
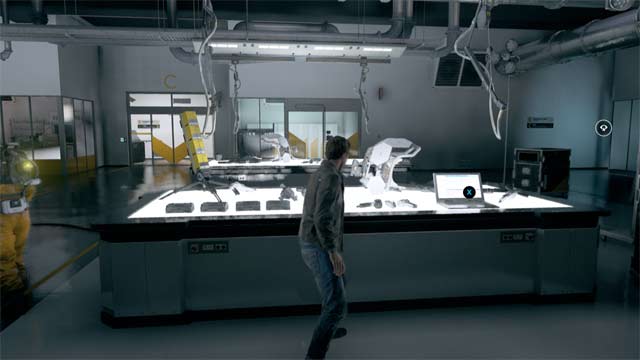
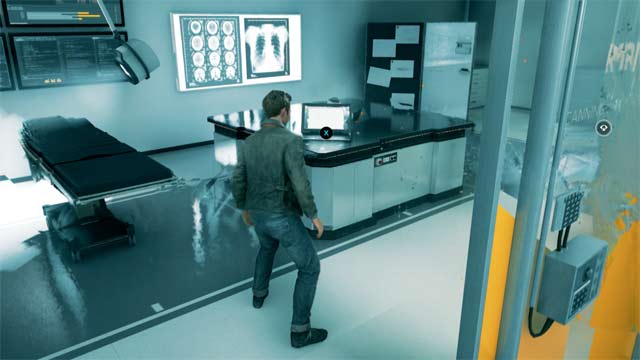
Move into the medical lab where you’ll find the eighteenth collectible.
Collectibles 18-21
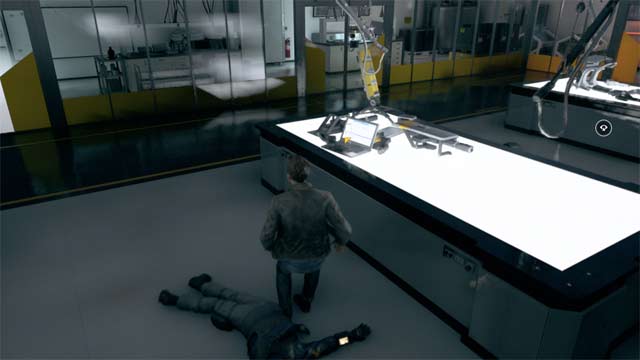
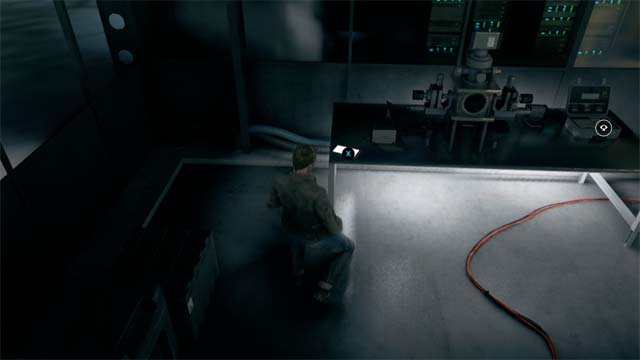
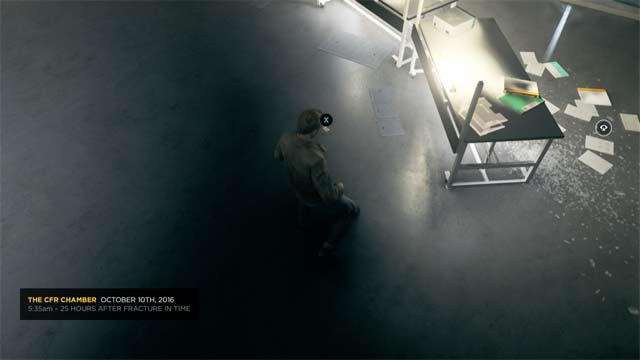
Once you take out the Monarch soldiers and free the rebel one, you’ll find some collectibles scattered around the place.
PART 2
| Chronon Sources | 5 |
| Intel | 0 |
| Collectibles | 1 |
| Quantum Ripples | 0 |
Chronon Source No.1
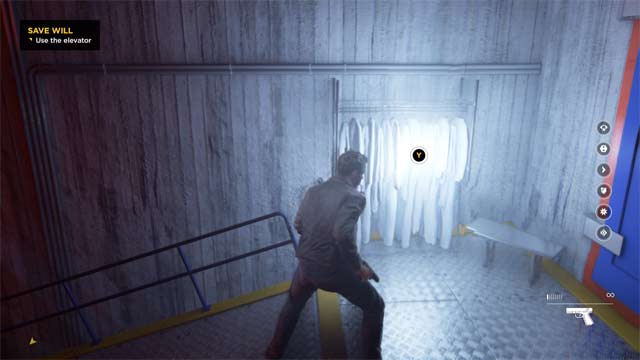
Before you head upstairs, explore around and look for the first chronon source, hidden amongst some lab coats.
Chronon Source No.2
Once you reach outside, there is a source on top of a forklift.
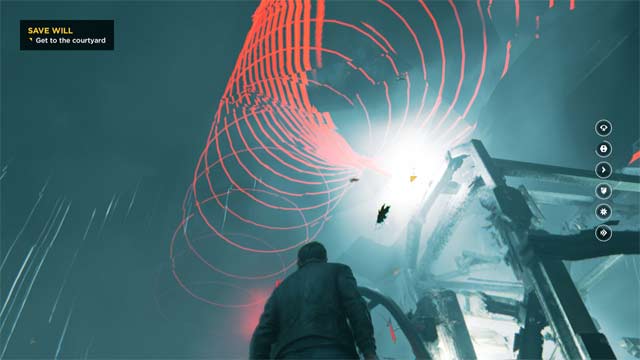
Chronon Source No.3
Once you make your way through the parking garage and through the gate, you’ll find the third source above some chairs.
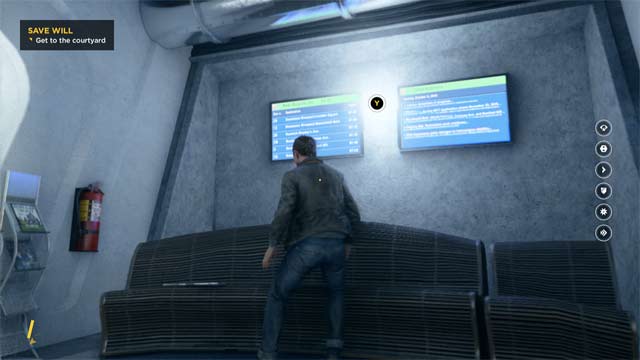
Collectible No.1
Just before you switch off the dampener, collect the collectible next to the power switch.
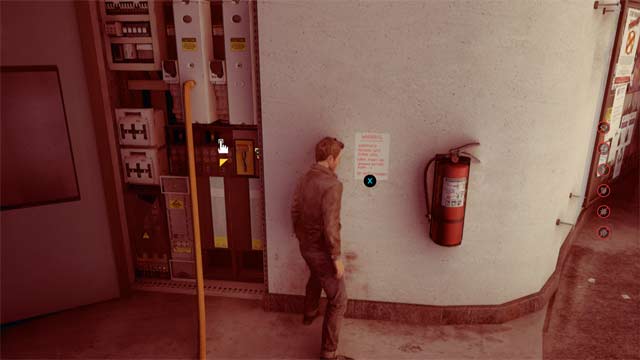
Chronon Source No.4
Once you reach outside and head up the crane, you’ll find the fourth source.
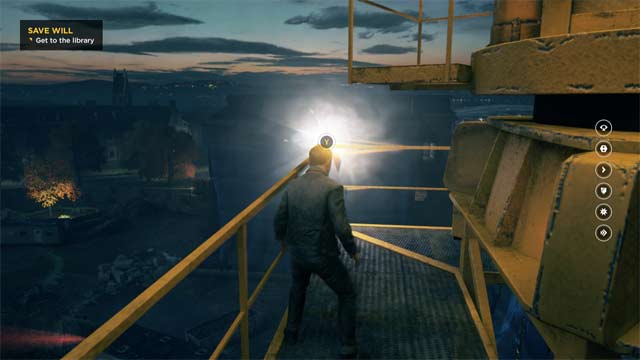
Chronon Source No.5
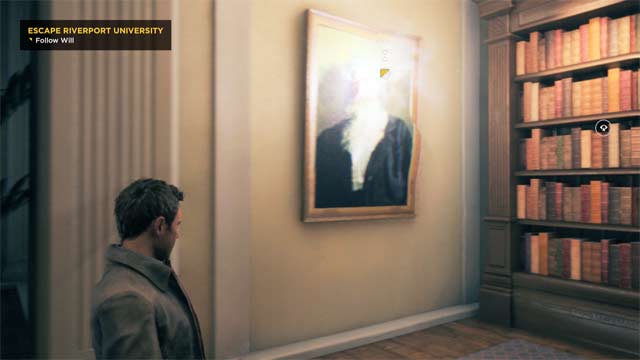
Once you take all the enemies out on the roof and save Will, you’ll find the final source next to a classical painting.
PART 3
| Chronon Sources | 2 |
| Intel | 0 |
| Collectibles | 1 |
| Quantum Ripples | 0 |
Chronon Source No.1
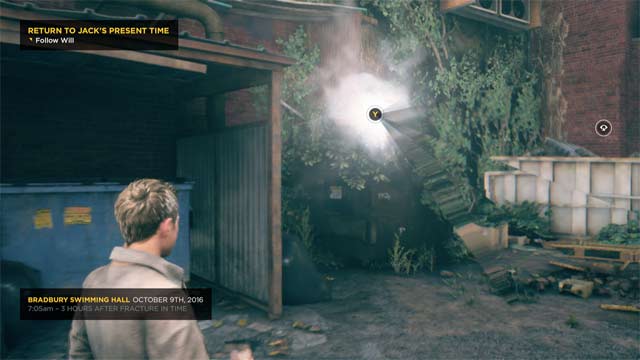
The first source is found near the cab that Jack and Will exit at the start of the level.
Collectible No.1
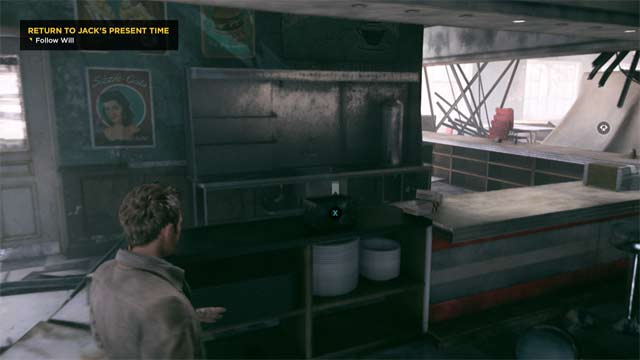
Head inside and upstairs to the cafeteria to find the only collectible (and final for the game).
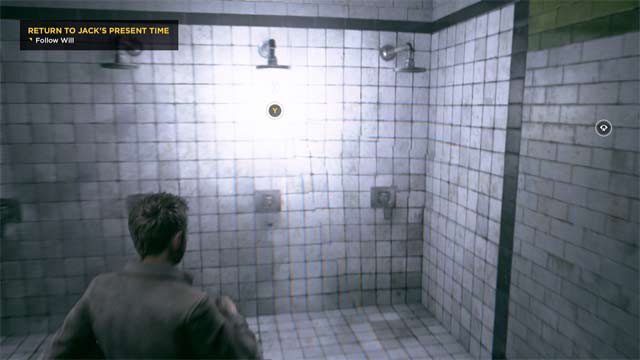
The final collectible of the game can be found as Jack and Will trek towards the swimming pool, inside the showers.